Followers

Showing posts with label momento. Show all posts

Thursday, 16 May 2013

Summer Sundae Inspiration! :-)

Hi Everyone,
This is Hussena here to share with you my inspiration for this month's challenge theme 'Summer Sundae' set by our amazing and talented DT member Pallavi! :)....I am sharing a card based on the theme and here's a look at my card :-
                                 
                                                       
A look at the inside of the card :-
                                                         
I have followed the color inspiration and the recipe  ingredients...And my recipe is as follows :

I have used 2 base cardstocks and 1 pattern paper.
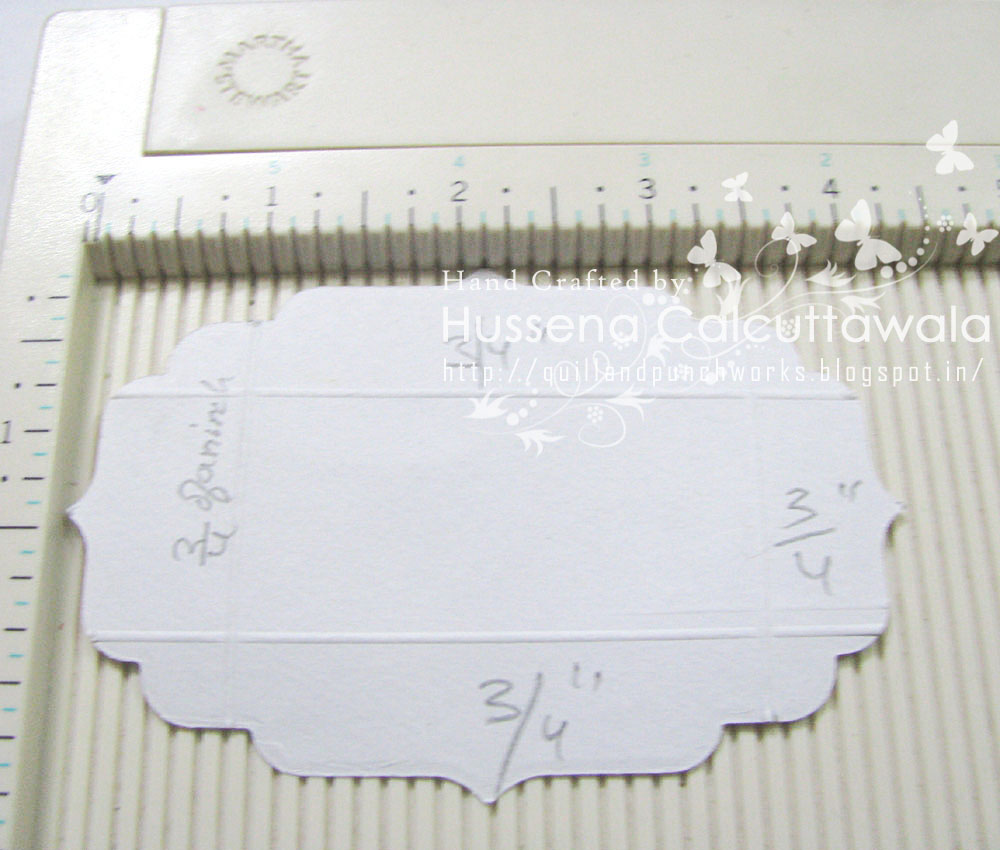
Used more than 1 die although the challenge requires 1 punched element or 1 die-cut element.      
And my 3 embellishments are : Pearls,Rhinestone and the Flower Brad.          
And my touch of glitter I have added on the sides of the bird and on the Eiffel Tower as well!        

This card is so totally different from my usual style..I am not sure whether its turned out as I wanted to but I have experimented on a little bit of shabby chic/grunge-look specially the torn paper look with the doily insert below..That is one technique which I have been meaning to try for some time..Guess,need lot of practice still :)And As Dies is the the focus of this month at Crafter's corner I decided to play with the new Memory box Die that I had purchased recently  from the Crafter's Corner shop especially the Wrought Iron gate die so I die-cut these and over-lapped  and stuck them on each other to form a fence...I really like the way it has turned out..The fence I mean, and I have punched and distressed the small flowers and created the vine-like look...Did you notice the bird-cage with the solitary bird..Well of course,I did a bit of manipulation there too and used the part of the Wrought-Iron die to create the bottom half of the cage...Pretty isn't it ?


Okay now onto the supplies used  in my card :-

Base CS : Stash
Pattern paper : Webster's pages
Dies :Memory Box -Wrought Iron Gate Memory Box Birdcage, Memory Box Nestled bird ,MFT Die-namics-Eiffel tower,Spellbinders Nestabilities: Label 3,Cherry Lynn Flourish leaf strip.
Punches : Punch bunch Hydra cluster,Martha Stewart Doily lace punch.
Stamps : Unity and Sentiment from TPC
Inks : Momento Rich Cocoa,Versafine Onyx Black pigment ink
Distress inks : Scattered Straw,Tumbled Glass and Spun Sugar.
Brad and pearls from Stash.

Hope you all like my card... Do drop me your comments/suggestion's would love to hear from you and if you have any queries regarding any of the products used please leave me a comment here or  write to us at info@crafterscorner.in   and I will try and get back to you ASAP :) ... Please do play along our current challenge Summer Sundae to win a beautiful die and paper pad and the random draw as well :)

Have a Nice day everyone!

Friday, 22 February 2013

Tutorial with Stencils & Heat Embossing! :)

Hi Everyone,
Hussena here sharing with you all a very easy & fun tutorial on Heat Embossing using the Versamark Embossing Pen & Stencils .....You can use ANY stencil to create this whether it be an acrylic or the negatives of your punches or die-cuts...Anything works for this technique..!!..First have a look at the card I have made using this technique :-


The centre flower in this card is done using stencil & embossing ink & powder...so here's the list of things that you will be needing for this tutorial :-


There are actually very few supplies you will require... :
: 1 Stencil
: Versamark Embossing Pen
: Ranger Super Fine Clear Embossing Powder
:Distress Inks -I have used Shabby Shutters, Mustard Seed  Vintage Photo & Tumbled Glass +Memento Pear Tart Dew Drop
:Ink Blending tool
: 1 Mini Mister

And here are the steps :-

                                                         
Take your stencil & place it on a piece of white cardstock & stick it down on 2 ends using Washi tape/Sticky tape then select the ink of your choice and start coloring your stenciled image using the blending foam ..Try & cover all the area properly..here I have used Mustard Seed  Distress Ink for my flower & Memento Pear Tart for my leaves!


After you have completely colored your image using Distress Inks take your Versamrk Embossing Pen & emboss your image completely with it...Try to cover all the areas properly..This pen is quite sticky & has a malleable tip so its very easy to spread the ink with it & it gives a good coverage.


After you have completely run your pen over the colored image carefully remove your stencil & sprinkle the Ranger Clear Embossing powder over it & try & cover the image completely

Then shake off your excess powder and brush off the powder from the area surronding the image using a paint brush ...Then heat emboss the image using a heat tool ...Once you have heat embossed it you will be able to see a shiny image as shown above


Once your image is embossed you can start creating the background by blending distress inks of your choice  on a craft sheet or an laminated sheet ..Either thing works I am using an laminated sheet :). This is also a kind of Emboss Resist Technique as your image is already colored and embossed you can easily color the background without effecting the main image..I have used Tumbled Glass for the sky and Shabby Shutters to give the grass effect


 After the whole panel is colored I have spritzed water using a Mini Mister ...This will help to blend both the inks in the background and gives a very good effect ...This step is totally optional :)
I have created 3 panels using this technique ...The first panel on the right hand side is made using an another stencil and I have clear  embossed the image  first using the Super Fine Embossing Powder from Ranger and heat set it  and then blended the background so the center image is white ...In the 3rd panel (Red one ) I have  embossed the image using White Embossing Powder from Zing ! Doesn't it look so pretty ...Love the monochramatic look !!
And  a look again at how I have assembled the panel on my card :


And also I wanted to show you some fun techniques using the Versamark Embossing Pad and Black colored embossing powder from Zing !
                                                                                     

 I have taken a plain white plastic button and using a tweezer completely covered it in the Clear Embossing ink ..Then sprinkle the embossing powder of your choice ...Here I have used the  black glitter embossing powder from Zing !Completely coat the button with the embossing powder taking care not to miss a spot ...Then heat set it using a heat tool of your choice .
   
                                                                 
And Voila you have a nice big glittery button to use ...I also did the same with a metal butterfly I had in my stash and Lo and Behold ...Now I have got a beautiful glittery butterfly ready to use on my project :)


I hope you all like my tutorial and  the fun techniques using the Versamark Embossing Pen/Embossing Pad  and Embossing powder's   ..If you have any queries regarding the technique used here or about any of the product used ..please do leave me a comment or you can mail Shalini at : mshalini79@yahoo.com  and we will get back to you ASAP :)
And now that you have seen the inspiration and various tutorials on heat embossing from all the DT's at Crafter's Corner ..We would love to see your take on it ..So why don't you link up at our current challenge "Expression's of Love" set by our DT member Shalini and stand a chance to win A versamark embossing pen,and the clear embossing powder from Ranger as well the Black embossing powder from Zing :)  

www.crafterscorner.in (All Craft supplies under one roof)
For further information please mail us at : info@crafterscorner.in

Have a nice day everyone!                                                                                                                                                                                                                                                                                                                                                                                                      

Monday, 14 January 2013

A mini -treat box tutorial..!!

Hi everyone,
This is Hussena here & I am sharing with you all a tutorial for making a mini treat box perfect for gifting this Valentine or your preferred occasion...This is a very easy to make box & you will have loads of fun embellishing it in your own way....So here's a look at the box I have made :-


      And the top view of the box :


Supplies used for this BOX :-
Base CS -Stash
Lid is made using DCWV Garden Party Stack Pattern paper. -Crafter's Corner
Mulberry flower & leaves- Crafter's Corner
Red heart & small flowers -Colored using Tim Holtz Festive Berries Distress Ink -Crafter's Corner
Leaves & foliage -Colored using Memento Bamboo Levaes &  Tim Holtz Vintage Photo Distress Ink.
Dies:
Cheery Lynn Fanciful Flourish -Crafter's Corner
Cheery Lynn Olive Branches- Crafter's Corner
Cheery Lynn Exotic Butterflies (Small) -Crafter's Corner
Alphas & small hearts -Simple Stories
Small flowers -Stash


Now for the TUTORIAL  :

Supplies used :-
Martha Stewart Scoreboard
Fiskars Sure cut trimmer
Cardstocks of your choice
 Spellbinders Label 4 die
Double sided tape
Scissors

Step 1 - Take a piece of cardstock measuring 5- 1/4 inch * 7 -3/4 inch.

                                                               
Step 2 - Then placing the cardstock long way score it at 1 -1/4 inch , 3 -5/8 inch , 4 7/8 inch & 7 -1/2 inch.

 
Step 3 -Then flip the cardstock the other way & score at 1 -1/4 inch to make the bottom.      


Step 4 - Now ,cut the below scored line as shown in the picture below.

Step 5 -Glue the two sides of the box as shown below .

                                         
Step 6-Fold all the scored lines & glue the bottom flaps.

 
Now for the LID :

Step 1-  Take the second largest label die from the set ...It will measure approximately 4 inch * 2 -3/4 inch.


Step 2- Now score the die at 3/4 of an inch on all sides...This will fit the box perfectly giving a nice decorative edge to your lid..You can work with other shaped dies also as long as you work out the measurements for the box  against the die measurements....There are many possibilities with this kind of lids.


Step 3 - This is how the lid will look after you have scored and glued it on all four sides.


Step 4- To give you an idea how the box looks with a lid I have added to it .
                               
                                     
Hope you all like my tutorial ...If you have any doubts or queries regarding any of the steps or products used do drop me a comment & I will get back to you as soon as possible.

Don't forget to participate in our current challenge -'Anything but  a Card or Lo "...There is amazing Magnolia magazines up for grabs..:)

www.crafterscorner.in (All craft supplies under one roof)
For further information please mail at : info@crafterscorner.in    

Have a nice day everyone!                                                                                                                                                                                                                                                                       

Wednesday, 28 November 2012

Tilda with pencils

Hello crafters,
its kavitha here with another inspiration card here for this month.I have used my most favorite tilda-Tilda with pencils for this card.I have stamped the image on spellbinders label 22 with Memento tuxedo black ink.Colored the image with Distress markers.The beautiful lace corner die is from cherry lynn.The heart shape is distressed with tumbled glass ink.Finally added some  mulberry flowers and MS leaf punch.
I hope you liked my card.
Happy crafting,
kavi
 http://www.crafterscorner.in (All craft supplies under one roof)
For any further information regarding any of the products please contact :- info@crafterscorner.in

Friday, 19 October 2012

Flower's and Birthday wishes

Hi friends,
                Hussena here bringing you another inspiration for our current challenge at Crafter's corner which is Flower's and Celebration .This time I am sharing a card with you and I have done some stamping and layering on it.... and here's a look at it first :-

          And now a look at the insides too :-
                           
Supplies Used:-
 For this card a lot on my supplies are from Crafter's Corner....The Patttern paper is DCWV Garden party. It has some of the most beautiful paper's in it with delicate blossoms and butterflies and humming bird design ,I  used this paper as the base and  also fussy cut it to use as the scallop border lace and also have fussy cut the butterfly from this paper........I have then  layered it with a Spellbinder's Asian motif Die which is also available at Crafter's Corner...in fact Crafter's corner has some of the most extensive collection of dies at very reasonable prices :):) so do check it out!!! The peach flower and mulberry leaves are also from Crafter's corner they have recently stocked some beautiful Curly mulberry flowers and leaves you can check them out Here   I have used Martha Stewart daisy punch to create my border both outside as well as inside....I have used Memento Rich Cocoa to distress the edges as well as to stamp the sentiment.      

                          Hope you all like my card and if you have any question regarding  any of the products used please drop in a comment or mail us at    mshalini79@yahoo.com   and Shalini will definitely get back to you soon!!

                             And  I would like to Thank all our followers for the support and encouragement you have shown towards us and for all the wonderful enteries you have been submitting for our challenge :)    

                                 Have a Good day everyone :)