
Hello everyone!
Welcome to a brand new tutorial by on an amazing product recently launched in our store!
Its none other than the lovely sequin sets by Dress my Craft!
I'm sure you have heard about this lovely new Indian Crafting brand!
Well if you haven't let me introduce you to it! Dress my Craft is an Indian Crafting Brand its a brainchild of Shalini Mittal she is the owner of our favourite website Crafters Corner!
Dress my Craft has come up with amazing products and there is more coming up soon!
We have a wonderful news for all our followers outside India the products under this brand will be available Internationally! Isn't that amazing?
So without much ado lets get started!
Dress my Craft has come up with 12 sets of sequins and a set of lovely clay hearts! I've shared a picture of 10 sets and the hearts down below.
Each box is unique in its own way there is a special mix of sequins in each box different shapes, textures, sizes and ofcourse colours! You name it and we have it?

Well in the recent weeks Im sure you all have been going through the amazing posts by my fellow Dt's on how to use these beauties.
For the followers who know me, you all know Im obsessed with glitters, sequins, embellishments and thing that add BLING - I LOVE IT!
So when I was sent a DT pack full of these amazing sequins I had my brain running full of ideas!
I wanted to make something different something new? So I came up with this super cute layout! Now you can make this get it framed or use it as a page in the album!
So lets get started shall we?


Look how pretty these look?


Love the shape and texture of these!
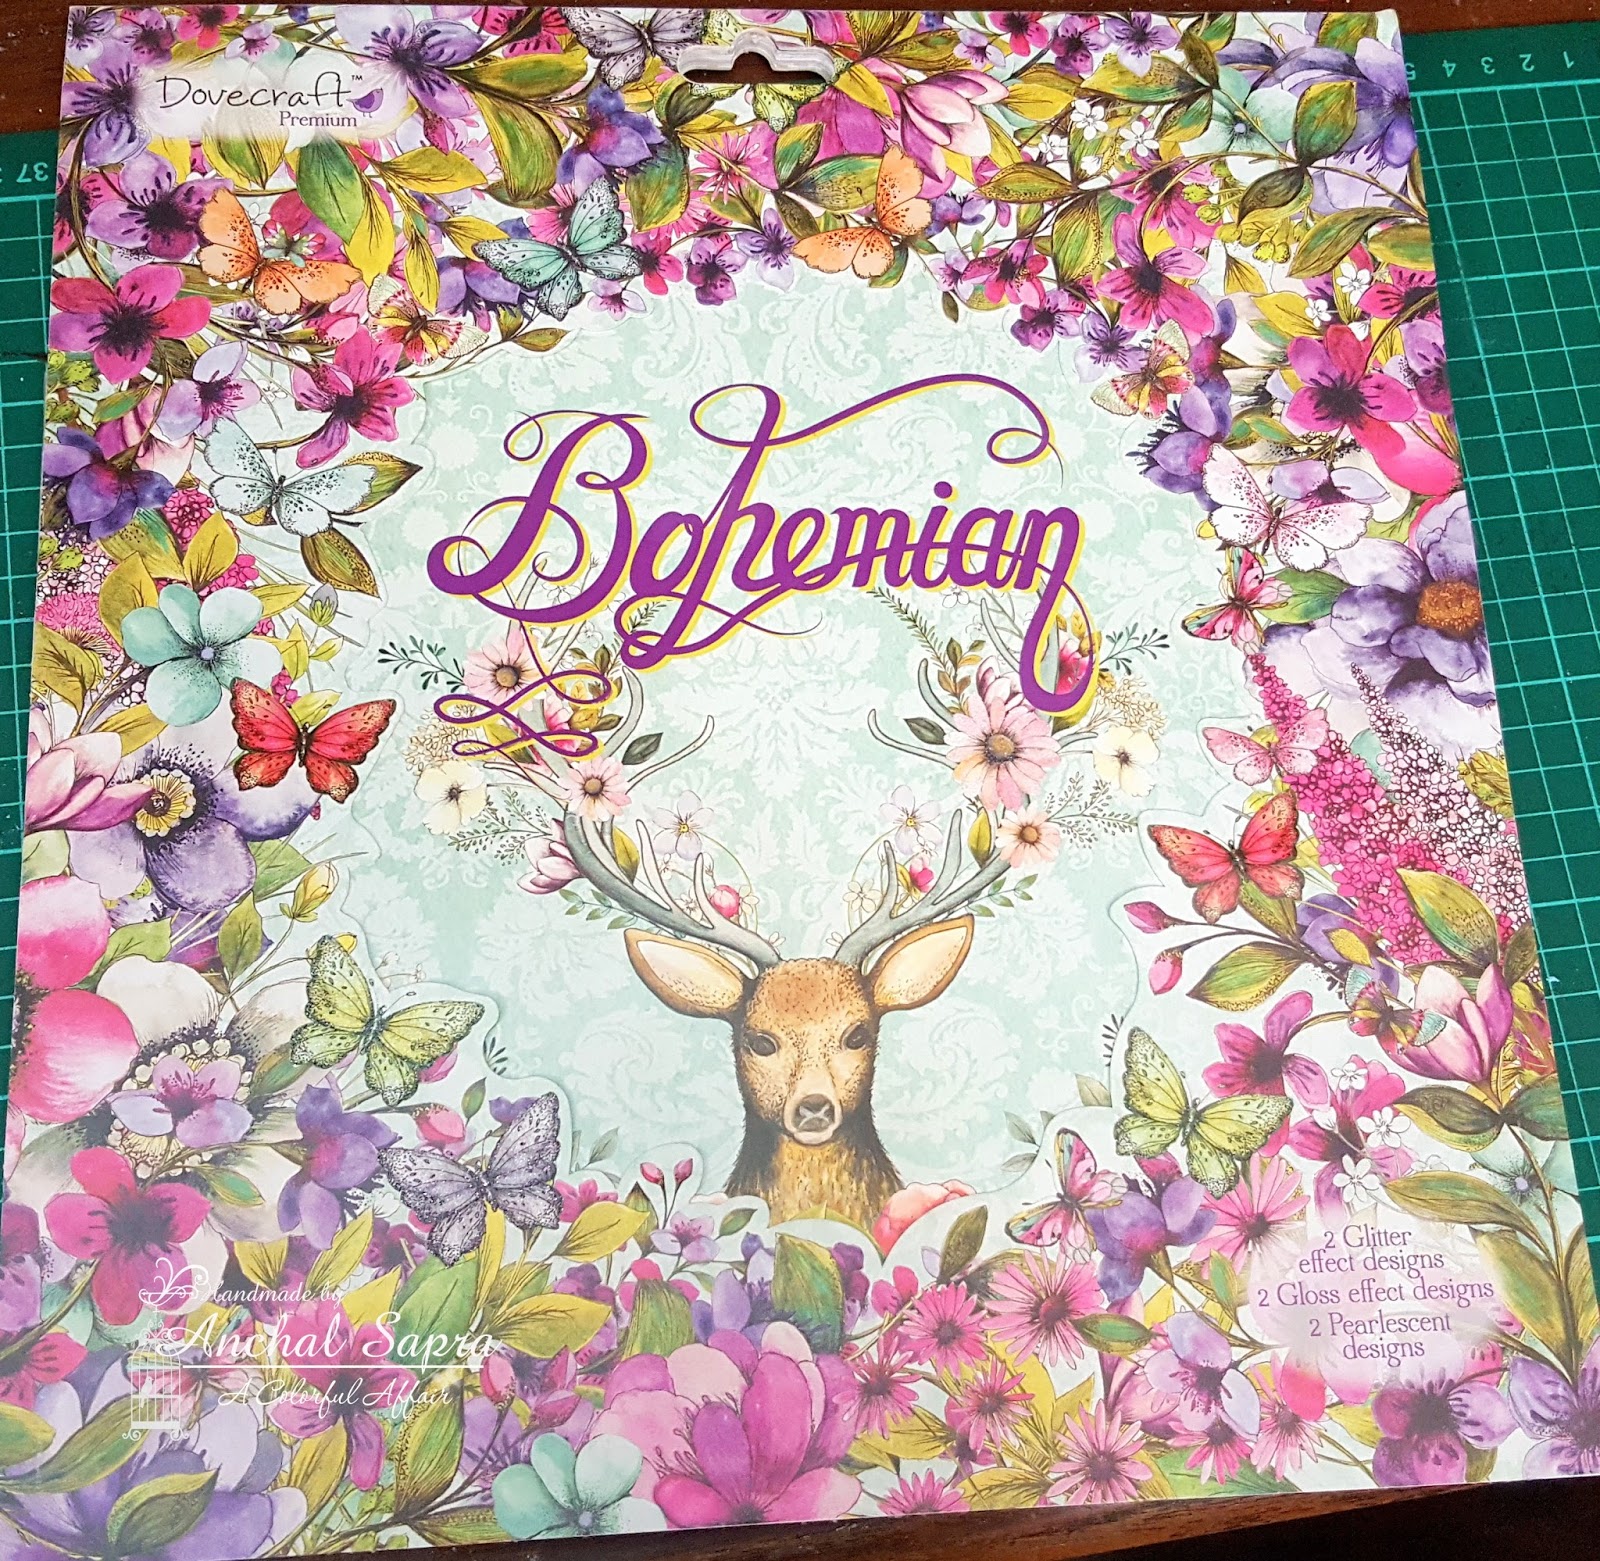
So I started with one of my recent purchase - The amazing Dovecraft Bohemian paper pad. The prints are gorgeous it has textured, Shimmer and printed sheets.

I started by selecting few prints for todays layout!

Now for this layout I needed a photo sleeve and since Im making a 12*12 layout I've used a 12*12 photo sleeve by We are Memory Keepers are store has a variety of photo sleeves you can check them here - LINK

I started off by trimming my papers and making a rough layout deciding what goes were

Next I fussy cut some butterflies from this gorgeous pattern paper and added to my rough layout.

Now lets get started. I stamped this sentiment by Kaisercraft with Stampin up ink and layered it up with some pattern paper

Next i printed my name on some cream cardstock and bored punched it using my fav Martha- Doily lace punch I just cant get enough of it! I've also punched some butterflies with this martha stweart punch and added it to this piece.

Lets start fusing now.
All of you who dont know about the fuse tool let me brief you up.Its a tool by We are Memory keepers It has 2 attachments once plugged in, it heats up and you can use it to seal materials in the photo sleeve. You can fuse pictures, papers, sequins, glitters, embellishments and more.
Before closing this area I added 2 different sets of sequins adding the perfect touch of bling! They just look amazing!

For my next tile I've used these pretty butterflies by Heidi swap!

And ofcourse some more sequins! I just cant do without bling!

For the remaining tiles i've used a varierty of embellishments. Like this wycinanka cut out that i painted with Dusty attic paint and the next tile filled with small resin embellishments from the store. The possibilities are endless!

Hope you all enjoyed today's post!
Feel free to ask any questions. Hoping to see you all make inspired layouts!
Lots of love
Anchal Sapra
PRODUCTS USED
12 Fuse tool
15 Chandelier
16 Glitter bow
18 Mirror charm
20 Cutting mat
21 Tacky tape
24 Scissors
25 Ruler


