Hi folks!
Good Morning :)


6. Added vintage design washi tapes to the layout for visual interest


That's all for today :)
Hope you have a great day!
Thanks a lot for your precious time :)
Stay Blessed!
Preeti Datta
Blog
Instagram
Good Morning :)
For today's post, I've shared a Mixed Media Layout titled "Enjoy Today" and there is a Step-by-Step Pictorial as well :) The inspiration for the layout came from a photo of coffee, I simply love coffee, so I knew I had to create a layout around it. For me, coffee time is "me" time. I can sit, relax, be quiet for 5 minutes, sip my beverage, think & forget about other things. I wanted to remind myself that it is important to delight in the little things in life that give us joy & enjoy them today, to "live in the moment".
So let's get started :)
Mixed Media Layout- Enjoy Today

Here Are the Close-up Photos (to Show the Details):


Step-by-Step Pictorial:
(All the products used are linked to the Crafters Corner Store at the bottom of the post, if you wish to explore/shop)
1. On a sheet of Dress My Craft's 12 by 12 sized Floral Oriental Collection White Cardstock, first applied white gesso to prep the page for mediums. Then I did ink smooshing to add color, by using different mediums. I used distress inks, Lindys Sprays and Zig Markers here. This card stock is meant for flower making so it takes water and mediums very well. I was happy that it did not warp at all.

2. Created photo mats using papers from Dress My Craft's Dots n Stripes Paper Pack, distressed their edges and darkened them with distress ink to give better definition

3. This is how the background looks after color is added, I also created a lot of ink splatters using a small sized brush. (Tip: Always keep tissues ready while doing any mixed media work, to quickly dab away excess color or errant drops)

4. Adhered the mats to the photo and created dimension between some of the layers by using 3d foam tape

5. Added background stenciling using Tim Holtz stencils and distress ink

6. Added vintage design washi tapes to the layout for visual interest

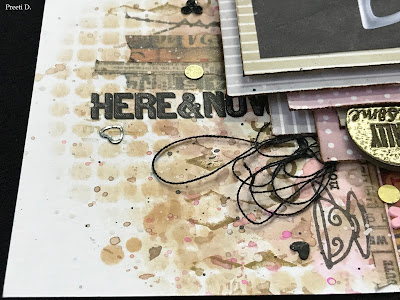
7. Did background stamping with multiple stamps using 3 shades of archival inks (browns and black)

8. To add more details to the layout, I used Tim Holtz rub ons, these are a great way to add quotes/text to difficult to reach spots, where stamping isn't possible. It is very simple to use them, just peel the backing paper, rub over the desired quote with the ice cream stick, a few times, putting a lot of pressure and poof, the quote transfers like magic!

9. Heat embossed Dusty Attic Chipboards for the titles. (Heat embossing chipboards gives them added dimension and shine)

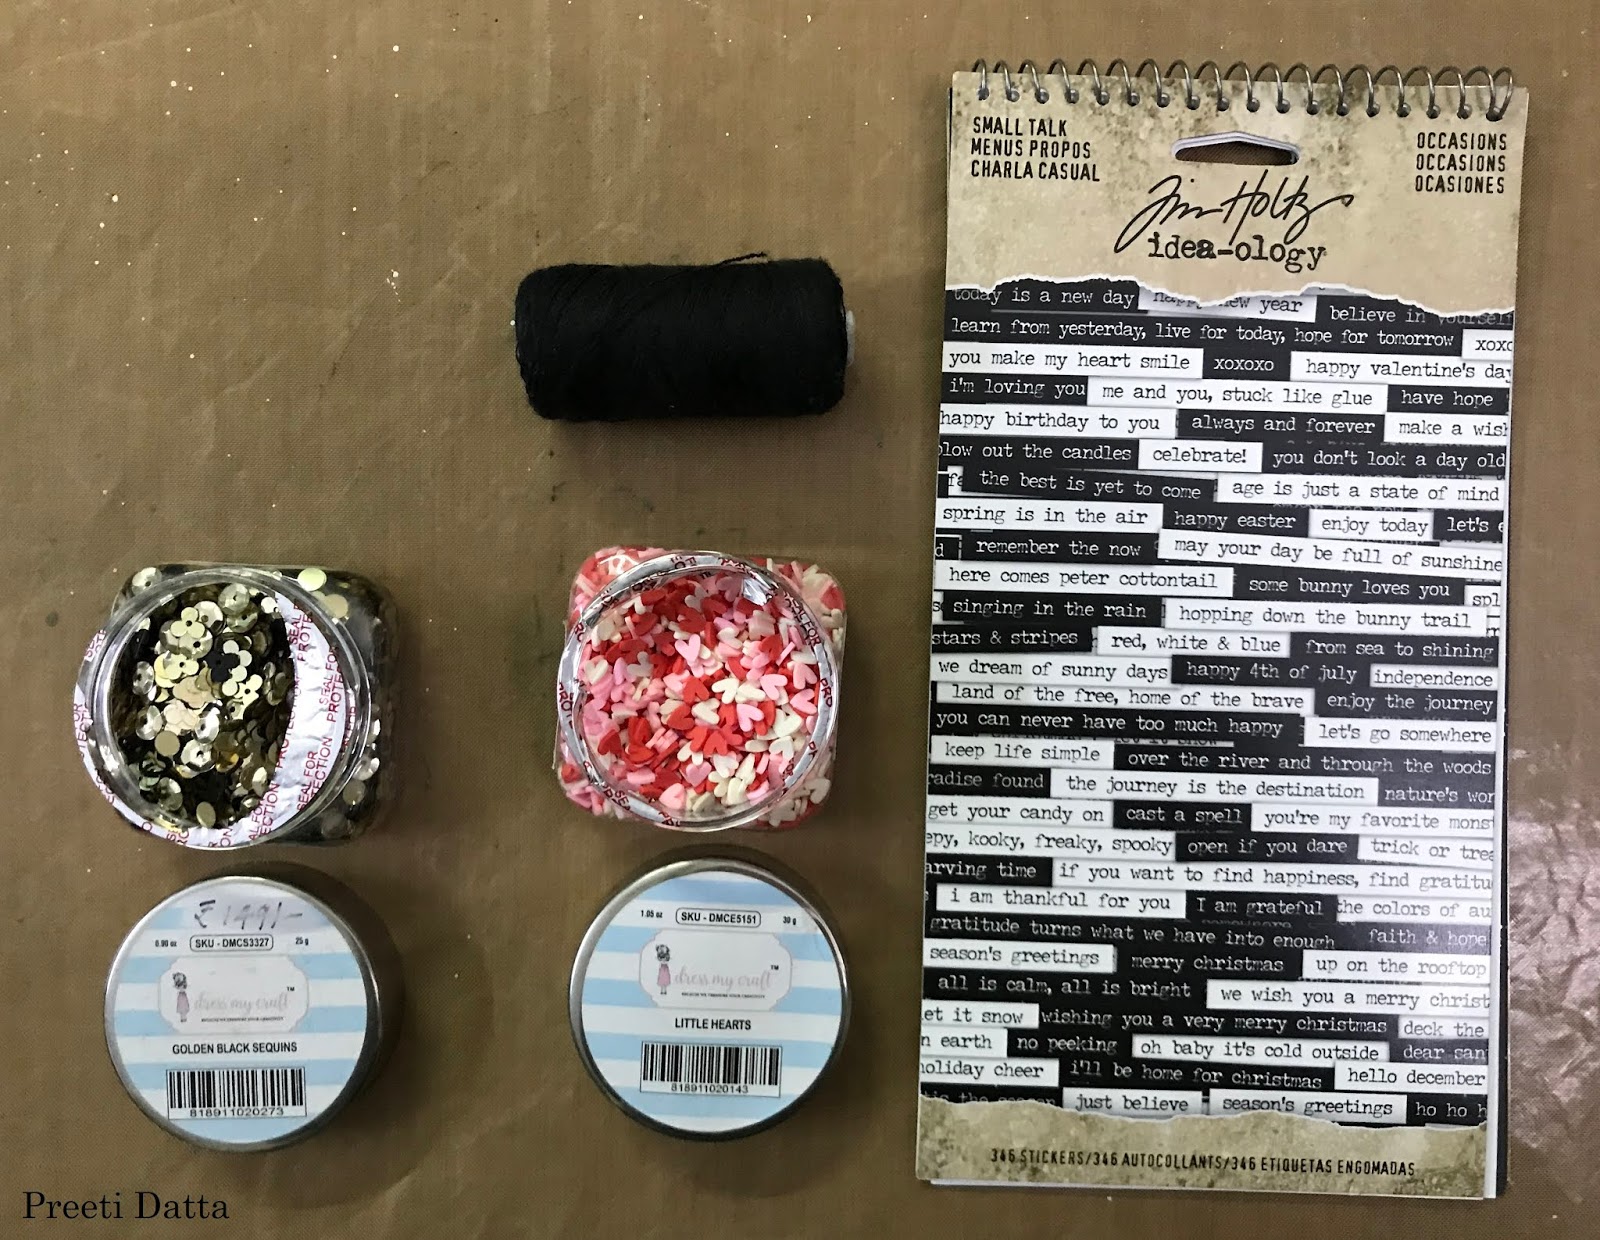
10. In the end, added Tim Holtz chit chat stickers, a little thread for texture and embellished the project with Dress My Craft Little Hearts and Sequins (used glossy accents to stick them)
Products Used:
(All these can be bought/pre-ordered from the Crafters Corner store)
13. Mudra Craft Stamps- Simply Alpha (pre-order)
14. Dylusions Stamps- Basic Backgrounds (pre-order)
27. Lindys Gang- Midnight Bronze Embossing Powder (pre-order)
28. Dusty Attic Chipboard- Page Pebbles #8 (pre-order)
29. Dusty Attic Chipboard- Word Pack #29 (pre-order)
30. Tim Holtz Idea-Ology- Small Talk Stickers (pre-order)
If you'd like to check out my blog posts (in the series of Beginner's Guides), please click on the below topics.
Also, if you'd like to check out my creative project posts with pictorials, please click on the below topics.
As always, we love to see your gorgeous creations using supplies from the Crafters Corner store, so please do share them with us in our Facebook Group- Crafters Corner Showcase using the apt hashtags #craftwithcrafterscorner #dressmycraft #crafterscornerindia, on Twitter and/or on Instagram. And please remember to like/follow Crafter's Corner Facebook Page, Instagram & YoutubeAccounts for updates on sales, giveaways, free tutorials and new product information.
Hope you have a great day!
Thanks a lot for your precious time :)
Stay Blessed!
Preeti Datta
Blog