Followers

Wednesday, 5 November 2014

Parisian Cafe in a Lantern

Bonjour!!

I am back with a totally amazing project, although I do say so myself.. So, many of us wish we were born in Paris or lived there or even visited !! Sigh!!! I love anything Parisian!!!
And i love my miniatures! So, I have created a Miniature scene of a little Parisian Cafe! It has lots of little details see if you can spot them all. I bought this Lantern A few months back when i was doing up my house and its basically a candle holder , but I loved the Vintage old world charm .. It's been sitting on a shelf in my living room since then Till i had a light bulb moment and thought of transforming it into a Room Box/ Miniature Scene.
Here is what it looks like.


And here is what I did!!


Watch the Video here!!


Supplies used

Darice Miniature Chairs


In keeping tune withe Parisian theme I wanted the Chair to be nice and bright so I painted it using some Fired Brick Distress Stain. I did 3 coats and used my heat gun between each coat to give it a aged look and wiped off here and there with a wet baby wipe. 

Miniature Clock

This clock was perfect all I did was used some Walnut stain distress ink and inked it to get an aged and polished wood effect.


Miniature Photo Frames

These little frames are sea blue in color I used distress Paint in Picket Fence and i did three coats again drying between each coat with the Heat gun. And i wiped some of it off and then used walnut stain distress ink to get that weathered chipped effect.


And here they are with images glued on the back.


Eiffel Tower Charm


 I just took off the jump ring and the little Paris charm from the loop.


I just pulled at the cage and the base came off! I popped in a miniature Parrot and used E6000 to glue it back on.

Camera Charm

Ball Chain


Miniatures I made

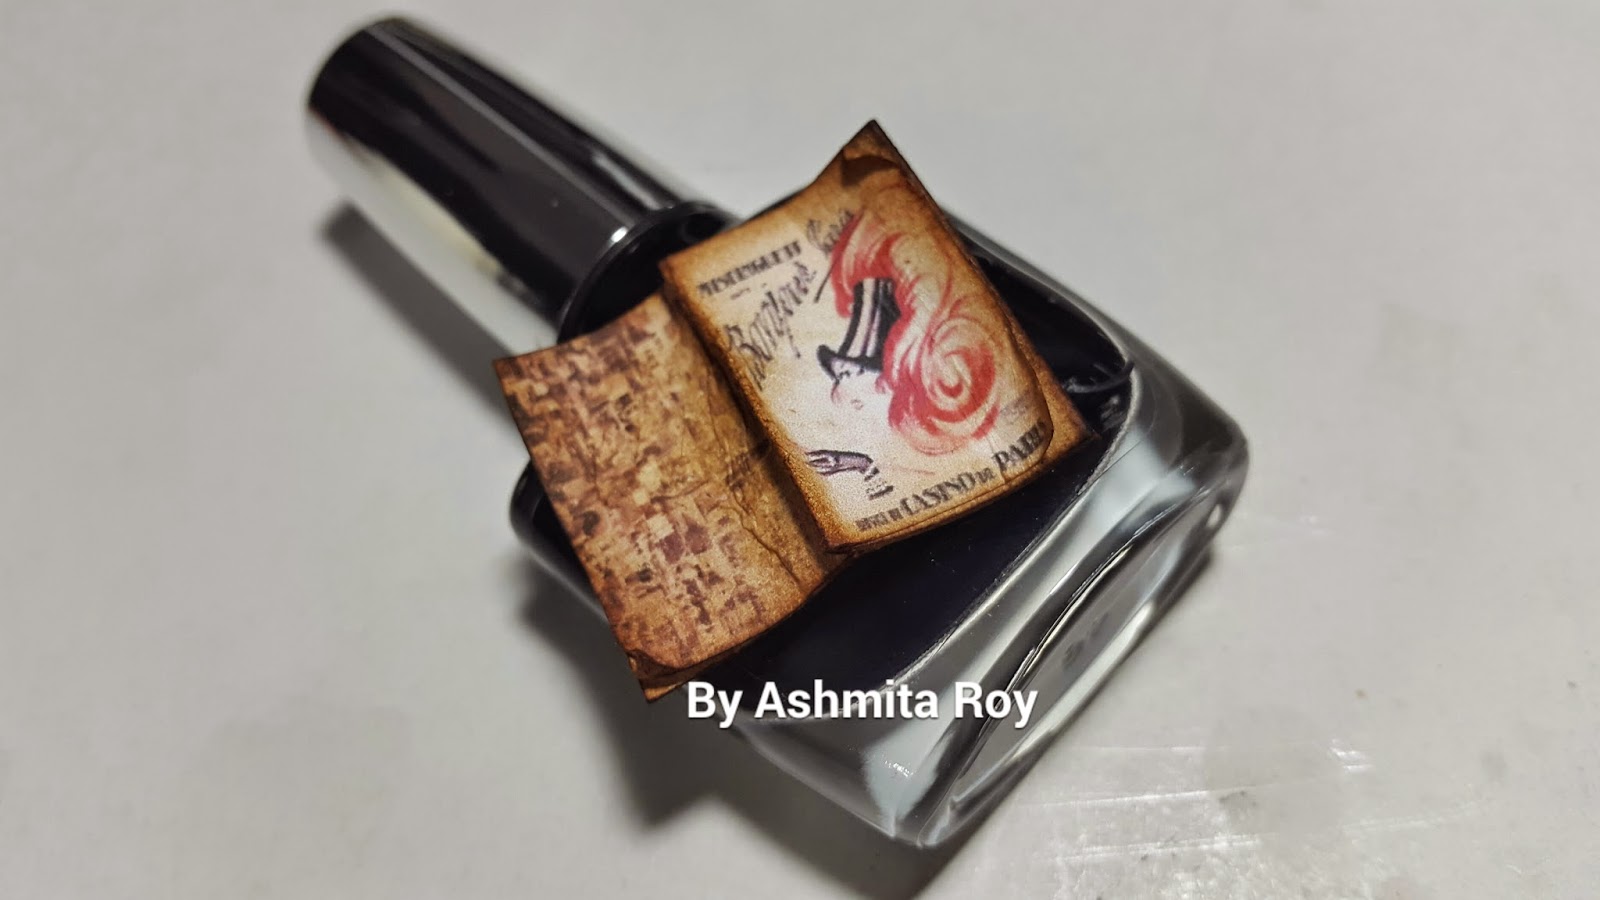
I made a miniature French magazine


The Legs of teh table the table top and the shelf are made using leftover chipboard from other projects. They have been stained with Broken China Distress stain

PS:- You can do this in anymedium!! You can take a Shadow box or Tim holtz configuration box or alter any old jewelry box as well.
'
Thanks for visiting.
Don't forget to Subscribe!!

Ciao
Ashmita

Saturday, 1 November 2014

How to make a Musical Box Card

 
Musical  Exploding Box
           Hi friends , I am sure you have all been fascinated by musical boxes at one time or the other!I once got a dancing ballerina Musical Box as a Christmas gift many many moons ago and though its literally an antique piece now, I still love to wind it up and hear the sweet melody it metes out!
           Exploding boxes seem to be very popular amongst crafters who sell handmade cards and gifts - I guess its because they are so easy to make and always have that  "WOW" factor!
Mini wooden Piano
        I made my first exploding box using this beautiful Pinewood Piano which is part of the new collection of super cute mini furniture at Crafters Corner
Piano
This piano is just the right size to add to an exploding box ,a mini doll house room ,or a handmade desk caddy set.The cute piano looks gorgeous as it is but my crafting consultant [ my 8 year old kiddo] said a black one would be more stylish!
Wooden Mini Piano
To customize the piano : Place the piano on the paper you want to use for lining and draw around it with a pencil and cut out the outline.You can use pattern paper, card stock, tissue paper or whatever you fancy.
Wooden Piano
I had recently shared  12 MDF altering ideas and just sharing a small tip on lining objects with paper - ink the edges of your paper / card stock outline to mask that white glare from the cut paper edge-- its a little point but makes your final project look so much neater!
Inking Card-stock
You can heat emboss a pretty stamp on your cut out outline paper or glitter it up before sticking to the piano. I actually discarded the cardstock and went with adhesive backed glitter foam for my piano. Paint the rest of the piano in matching colors using acrylic paint and a thin paintbrush.
Mini Piano
All the red roses in this project were made from foam using the Spellbinders Baubble blossom 1 die[ will share a tutorial if you want].

I am personally not a big fan of videos but there is no other way I can show you how the little piano rotates while playing music! Its a super short video so do click the play button!!

How to make a Musical Box Card

You need to source a wind up musical box to make your own musical box card. I could get one from my neighborhood fancy store. It was a sorry looking dusty and rather garish doll which was gathering dust in the gifts section !I think over time we crafters get tuned to see the " crafty potential" behind many items ,so yeah I went ahead and rescued the poor unwanted doll from the shop !
Musical box
           I could easily remove the doll from the plastic casing of the musical box base . Dressed up the box with corrugated paper and beaded lace. I guess most of us crafters  use the glue gun left and right. I too love it as its quick, economic, and dries super fast but yes I hated the burns which it inevitably used to give till I got the "Finger Caps"
Musical Box Alteration
            These Finger caps manufactured by the Mod Podge guys actually allows you to touch the melted hot glue without getting scalded! And I find them most useful to glue on a trail of beads as I can touch and glue them perfectly on the hot glue line!
             There are dozens of tutorials on how to make exploding boxes of all dimensions in the net - just sharing the dimensions of this particular one so that its easy for you to use musical boxes available in our local market [my kiddo has 3 musical boxes and we found all nearly the same size]. 
I used a  12 and 3/4 inch square Ivory sheet to make the base of my exploding box. Used the Scorpal to score it every 4 1/4 inches both ways as shown [ red dotted lines indicate score lines].
Exploding Box tutorial 
Chopped off the corner squares to make a "cross" as shown below.
Exploding Box
If you have a corner rounder punch or crop a dile corner chomper you can round off the edges of the square for a more stylish finish!
Exploding Box
Cut pattern paper into 4 x 4 inch squares and stick on your base. I stamped the pattern paper with musical notes ,corner designs, a clock,a bird silhouette and added a "Love" stamp to make my musical box a bit romantic !
Sue Wilson Bow
           The leaves of my handmade foam rose are punchcraft leaves [see Leaf tutorial ].The bronze " I love you " charm actually opens like a book to reveal script inside! All the silvery tiny pearl dots were made using liquid pearls!The silver bow is my current favorite Sue Wilson Bow die!
Handmade foam rose
          Fussy cut the bird cage from a Mariposa paper stack and added it to give the birds company. The silver fence is another favorite Memory box die [ also seen in Fairyland Diorama].I love the cute variety of charms floating around in the craft world these days and I could use matching yet different charms for each panel of my exploding card!
Singing Bird Charm
Added a singing bird charm to stamped musical notes and a silver foam key [cut with Spellbinders Lacey heart]
Foam roses
I feel almost tempted to ask you guys " how many birds are there in this project? " LOL !! Well music and birds seem to match so perfectly!!
Exploding Box
Though I love making fancy fold and pop up cards this is my first exploding box- I hope you liked the musical box idea too.

Another note : Recently a crafter Ayoti Mittra shared the  photo of a  beautiful Diwali Lantern she had made using the the 3 D lantern tutorial I had shared here. [to see Ayoti's lantern just scroll down the comments on this Altered Bottle photo] Thank you so much Ayoti...It feels so good when my tips and tutorials are put to such good use!

Supplies
Liquid Pearls
Papers : DCWV [ sorry girls I cant for the life of me remember which stack it is from- do help if you know!]
Dies : Sue Wilson Filigree Bow, Spellbinders Lace hearts [ the key],Spellbinders Baubble Blossoms 1, Memory Box Rounded fence
Embellishments : Charms 

Dr Sonia S V