
Hello dear friends!
Its Suzna here and I have to admit, when I received my DT package of beautiful DMC's
I really love these stuffs and I would say 80 percent of my projects use beauties from CC site
Today I will show you the album covers that I made for baby girl. This Album covered with a fabric and are so nice to hold them in the hands. Sometimes I make these type of albums as custom orders and really enjoy the baby theme the most. I already shared the idea of binding / Covering fabrics in my previous CC post
Here is an embellished cover of a Baby album: Prettypink

The chipboards I have used is from Mudra and Wycinanka and the other fashion, bubble accessories from DMC and CC. I absolutely love it and think I need to buy some more designs. The flowers are all from prima. And those lace collection i bought it from different store


I hope you enjoyed checking out my project today.
Thanks for stopping by
Your kind words and feedback just make my day!
Hugs
Suzna
Supplies Used
Mudra Chipzeb
Wycinanka Chipboardcuts
Bubblegum-accessories
Bubblegum-accessories Little hat - Ivory
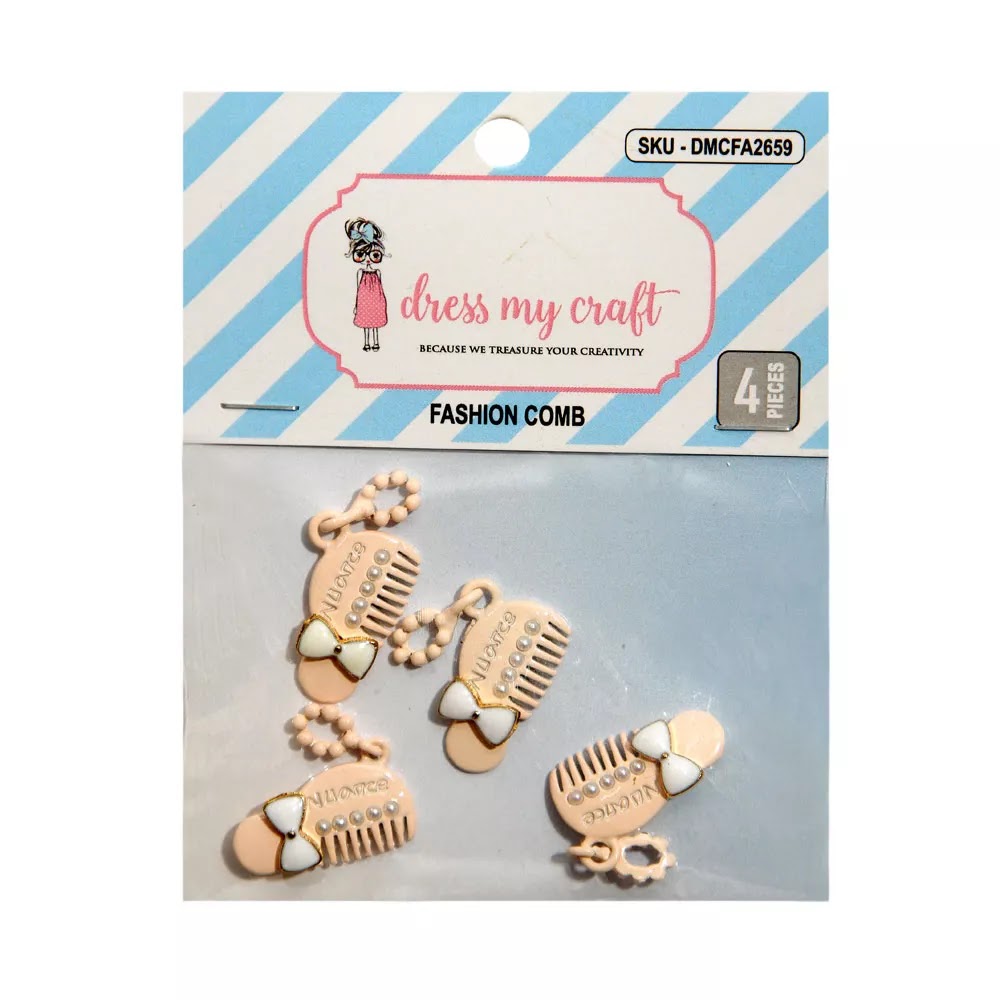
 Fashion-accessories
Resin-cabochons starfish-with-flower-assorted-color

Bubblegum-accessories Dove-bird

Fashion-accessories fashion-comb

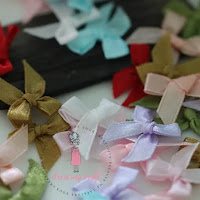
Fashion-accessories Mixed color Bow
Mulberry-flowers-leaves Prima Marketing.
Chipboard-cutouts charming Frame

Chipboard-cutouts Mudra Words

Charms-embellishments Scrapberry kidsfun-3

Charms-embellishments Diamond-girl
Miniatures-accessories Rose Bunch - Pink

Mudra Chipzeb
Wycinanka Chipboardcuts
Bubblegum-accessories
Bubblegum-accessories Little hat - Ivory

Resin-cabochons starfish-with-flower-assorted-color


Chipboard-cutouts charming Frame

Chipboard-cutouts Mudra Words


Charms-embellishments Diamond-girl
Miniatures-accessories Rose Bunch - Pink


