
Hello to all !!
This is Anita here !!!
I wish you all a very Happy Diwali !!! May you get loads of craft goodies on your table throughout the year and loads of inspirations for your creative mind .
We at Crafters Corner always strive to bring the best for you . So today again , I have an amazing product for you by Heartfelt Creations . It is the Pocket and Flipfold page inserts E and F - two new releases that will bring a smile to all those who are find of scrap booking .
A treat for those crafters who are always hard pressed for time and yet want to create beautiful memory keep sakes . But all that scoring , cutting and folding makes one think twice but these interactive page inserts makes scrapbooking very easy and fun filled activity .
Not only they are quick to make but are also very pocket friendly price wise .
One can make a compact mini book in two - three hours with so many flaps and folds that it is hard to believe.
These page inserts come in three colours and we have the Kraft and Black available at Crafters Corner .


You can also create wonderful waterfall interactive pages for your albums or just use them as it is to create mini albums . Combined with Heartfelt Creations paper pads , making scrapbooks becomes a cake walk . I have used the Heartfelt Creations Raindrops and Roses paper pad .I will explain why so in my video .
Do follow the video to get the inner view of the pages and how they open up .
You can combine two together to make more pages and folds .
I had too much fun making them and the result is so awesome , you will want to make more and more.
I hope you enjoyed the mini book video tour . Do try these out and I am sure you will live them . Please leave some feedback and feel free to ask anything .
Hugs and happy crafting!!
Products used


.
This is Anita here !!!
I wish you all a very Happy Diwali !!! May you get loads of craft goodies on your table throughout the year and loads of inspirations for your creative mind .
We at Crafters Corner always strive to bring the best for you . So today again , I have an amazing product for you by Heartfelt Creations . It is the Pocket and Flipfold page inserts E and F - two new releases that will bring a smile to all those who are find of scrap booking .
A treat for those crafters who are always hard pressed for time and yet want to create beautiful memory keep sakes . But all that scoring , cutting and folding makes one think twice but these interactive page inserts makes scrapbooking very easy and fun filled activity .
Not only they are quick to make but are also very pocket friendly price wise .
One can make a compact mini book in two - three hours with so many flaps and folds that it is hard to believe.
These page inserts come in three colours and we have the Kraft and Black available at Crafters Corner .


A Mini Album with Flipfold Inserts E -kraft

The Inside Pages

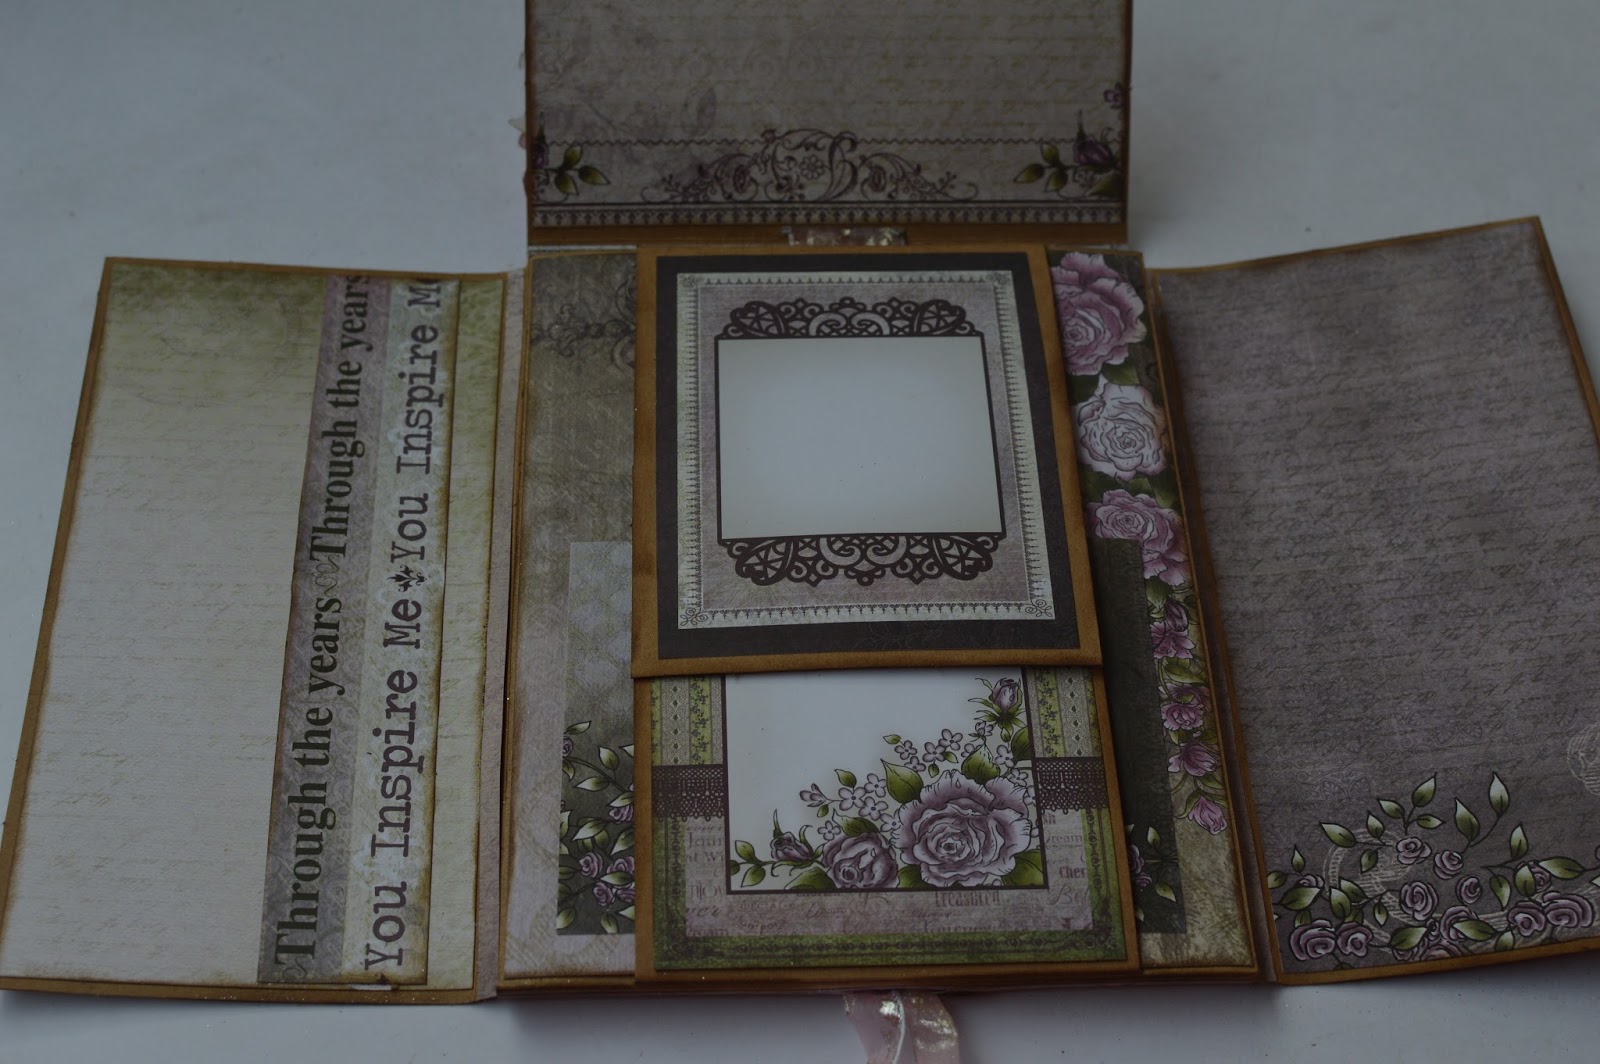

More inner pages
You can also create wonderful waterfall interactive pages for your albums or just use them as it is to create mini albums . Combined with Heartfelt Creations paper pads , making scrapbooks becomes a cake walk . I have used the Heartfelt Creations Raindrops and Roses paper pad .I will explain why so in my video .
Do follow the video to get the inner view of the pages and how they open up .
You can combine two together to make more pages and folds .
I had too much fun making them and the result is so awesome , you will want to make more and more.
I hope you enjoyed the mini book video tour . Do try these out and I am sure you will live them . Please leave some feedback and feel free to ask anything .
Hugs and happy crafting!!
Products used
E Kraft - Pocket & Flipfold Inserts
.


