Followers

Showing posts with label techniques. Show all posts

Thursday, 8 February 2018

8 Simple Mixed Media Cards & A Photo Tutorial- Guest Design Post By Preeti Datta

Hi Dear Crafty Friends!


Hope you are having a fine day. I am thrilled to be on the Crafter’s Corner Blog as a Guest Designer today. It is such a huge honor, so a big thank you to Shalini, Entrepreneur Extraordinaire & the wonderful owner of Crafter’s Corner

For today’s post, I will be sharing 8 Simple Mixed Media Cards and a photo tutorial for one of the cards. I’ve used Dress My Craft Stencils, Glitters, sequins & papers here. 

Dress My Craft (DMC) stencils are beautifully designed and would work brilliantly in all kinds of crafting especially for making Mixed Media Backgrounds. They are A4 in size & premium quality. Since they are thick, one can use them easily with various art mediums, pastes, sprays, inks etc and wash off the residue to ensure longevity. Because of their big size, one can use them on 12 by 12 layouts, on fabrics, walls etc... to get a seamless design. 

The 3 DMC glitters are beautifully packed in a wide mouth jar, so, it is easy to use one’s fingers to sprinkle them. They come in 3 varieties of fineness, with the DMC Microfine Glitter powder having the smallest white, shiny, powdery particles, DMC's Rainbow Glitter Chunks being multi colored and biggest in size & DMC's Rainbow Glitter is multi-colored, sparkly and has medium sized particles. I tried using various glues to stick down the glitters and all of these worked well-Tombow Mono Multi Liquid Glue, Dovecraft’s Acrylic Craft Glue, Ranger’s Multi Medium Matte & Glossy Accents. 

My favorite technique of adding loose glitter to these cards was to heat emboss an image and then sprinkle on some glitter on top of the heat embossed image and heat it with a heat tool so it got set within the melted embossing powder underneath. This way the glitter does not fall or rub off and it gives a great sparkly & shiny look to any project. 

For today’s cards, I’ve used the stencils with different mediums. 
All the cards are 5 by 7 inches in size and easy to create. I also wanted to minimize 3-D elements so that these cards could be easily put into available envelopes and mailed. 

So let’s get started.

Card 1: New Beginning


For this motivational card, I applied white gesso in the background on top of kraft cardstock (using a palette knife to get a rough, grungy look) and then sponged on black acrylic paint through the DMC- Alphas Stencil. The sentiment was stamped, matted and foam mounted on the card. All the edges were distressed with Black Soot Distress Ink.

Card 2: Thanks


For this Thanks card, I created the background panel with the gelliprinting technique using inks, paints and the DMC-Thumb Print Stencil. Then splattered on some watered down white gesso and matted it with a pretty text design paper from the DMC-Hydrangea Lawns Collection. To finish, added the die cut sentiments and the butterfly which is stamped from the Mudra Butterfly Layers Stamp and heat embossed on vellum.

Card 3: Hello 


For this hello card, followed a similar procedure as Card 2 by using the DMC-Alphas stencil to create the background. For this card, I also wanted some sparkle, so I put a layer of glossy accents on top of the die cuts and then sprinkled on some DMC-Microfine Glitter Powder on top. This added a wonderful & subtle sparkle which is hard to capture in photos.


Card 4: You are Enough


For this motivational card, I created the green background by using the Monoprinting with stencils Technique, in which I sprayed Lindy’s sprays onto the DMC Thumb Print stencil and then sprayed some water. Then used the stencil to stamp onto the panel. For layering, I then sprayed a darker brown color through the same stencil onto the dried background. Finished it off by stamping an apt sentiment, darkening the edges of the panel, matting & foam mounting the panel. Using this technique, one gets the positive and negative impression from the stencil.


Card 5: Happy Birthday


This motivational card was made alongside card 4 so the same techniques and stencils were used. Spraying ink on one panel and then flipping the stencil over to stamp with it onto the second panel. This way we can create 2 cards and reduce wastage of inks/sprays. For this card, I did some background stamping as well and then added the die cut sentiment.


Card 6: Cheers


For this celebration card, I created the background by sponging on white acrylic paint through the DMC-Thumb Print stencil and then Black Archival Ink through the DMC-Couture Fashion Stencil. The sentiment is a die cut and to add sparkle to it, I used some multi medium matte and then sprinkled on the DMC-Rainbow Glitter Chunks. In real life, it looks very shiny & sparkly.


Card 7: Hi


For this hi card, to create the background, I sponged on white acrylic paint through the DMC- Swirls Stencil and then with a soft touch created a sponged on white border. The sentiment is a die cut to which I added DMC-Rainbow Glitter using Dovecraft’s Ultimate Acrylic Craft Glue

Card 8: Sparkle


Photo Tutorial for Card 8 :
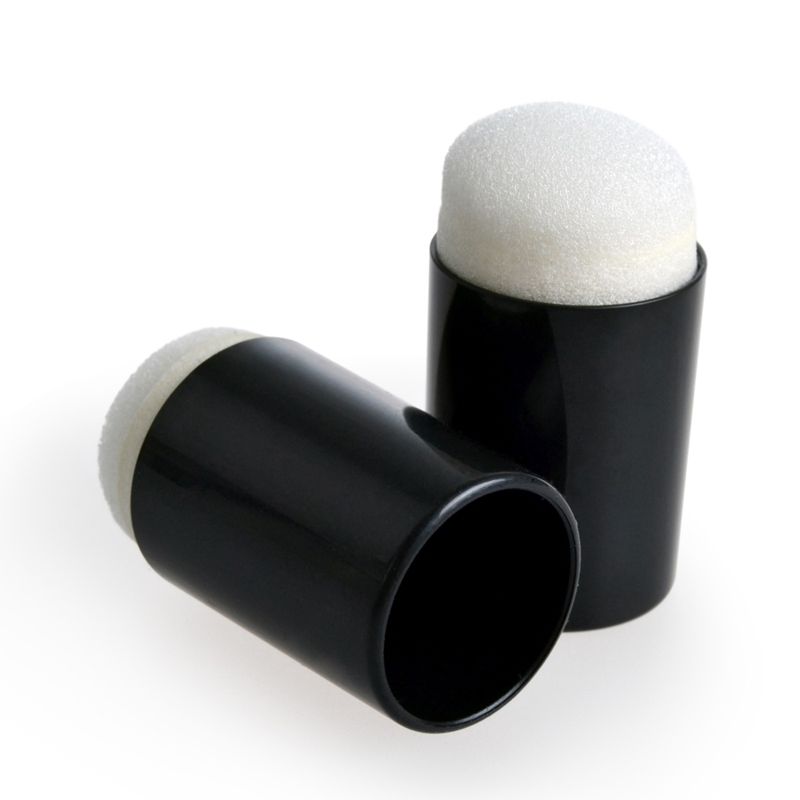
1. Created the card background by sponging on Peacock Feathers Distress Ink and Broken China Distress Oxide Ink through the DMC- Swirls Stencil using Ranger’s Mini Ink blending tool, Mini Ink Blending Foams and sponge daubers.

2. To add text to the background, sponged on Black Soot Distress Ink through the DMC- Couture Fashion Stencil

3. Then I did heat embossing through the DMC- Couture Fashion Stencil by first preparing the surface with an anti-static powder tool and then dabbing on versamark sticky ink through the dress form shape in the stencil & heat embossed it with Ranger’s super fine black embossing powder. 

4. To add shine to the dress form shape, as soon as the heat embossing was done, I sprinkled on some DMC-Microfine glitter powder onto the dress and heated it again with the Dovecraft Embossing Heat Tool, this enabled the glitter to bind to the melted embossing powder underneath and I had my glittery dress ready with no mess!

5. I heat embossed the die cut word “sparkle” as well and added shine to it (adding DMC’s Microfine Glitter Powder) in the same way by heat setting it. 

6. Then I did background stamping with Jet Black Archival Ink to create interest and adhered the sentiment with Tombow’s Mono Multi Liquid Glue 

7. In the end, I darkened the edges of the panel with Black Soot Distress Ink, matted it in black and foam mounted it onto a white card base. Then added DMC’s beautiful sequins- (Golden Black, White Sunshine & Crystal Clear) with glossy accents to finish the card.

That's all for today :) 

I'm very grateful to Shalini and the wonderful team at Crafters Corner for this experience. I had so much fun playing with the supplies. I highly recommend that you check out their website, HERE and also, their brand- Dress My Craft for it’s Stencils, Glitters, Sequins, Flowers, Pattern Papers etc They have a plethora of cool options to choose from. Buy a few to try them out, experiment and see the quality for yourself. I'm sure you'll love them :) 

Please don't forget, there is a great deal on DMC stencils via a Grab Bag Offer, wherein you can pick up all 12, A4 sized DMC stencils at a discounted price, please click HERE to check it out. 

Thanks a lot for your precious time :)
Stay Blessed
Preeti Datta
Blog

Tuesday, 28 March 2017

DISTRESS CRAYON !!

Good Morning Everyone..


Hope you all doing good and are getting inspired from my fellow DT's creations.
Today in continuation to my last post which was about review on DISTRESS CRAYON by Ranger, I am going to share few more tips and tricks you can try with distress crayons...

There is lot more to experiment with Distress crayon. As its properties say Distress crayon are water reactive pigments super creamy and smooth.

In the last post we have tried smudging effect, stencilling and water blending techniques with these crayons, incorporating all the techniques lets start with the post-

1- STAMPING WITH DISTRESS CRAYON
Since these are pigments, I was very much inquisitive about how these crayons may work when used as stamping medium.

When I applied black soot crayon to the stamp it glided so perfectly and smoothly leaving quite a distress image.
In the above picture, on the top left corner image, I have colored the stamp and have kept cardstock right above the stamp. With good pressure I have pressed the paper on the stamp.
once stamped the pigments are still active and water reactive, so I have heat set the image and Viola we have our stamped image.


Results were satisfactory, you will not get the crisp vibrant image.

2- HEAT EMBOSSING 

Next I wanted to try distress crayons on black cardstock, In my last post I have tried to smudge the crayons on black CS and I wasn't happy with the results. So I tried distress crayons on black CS with some heat embossing.

Supplies used- 

I have used random stamp from my stash, I have taken a piece of black CS and on it I have heat embossed the image with white embossing powder.

 After that I have used mustard seed crayon right above the heat embossed image and start smudging it with my fingers.

 I loved the result and quite enjoyed colouring these heat embossed images. The best things about the colouring was it so smooth and it spread like butter and was so carried away that I have coloured three butterflies.


 You can also make cute embellishments for your projects  

Totally loving the colours.

3- WATER COLOURING 
Next thing I tried was next level water colouring with distress crayon, In my first post I have talked about water spritzing technique, moving ahead with the same I have made a galaxy theme card. I always wanted to try one ... 

In the above image I have first washed the card stock with water ad started adding colors one by one.
The best part about the crayons is, it doesn't smudges the base color if any color is added right above it, It only reactivates with water(base color)


This is my very first attempt in creating a galaxy theme background & I loved it.
Stamp set used is here from my stash and totally love the card.

Next I tried colouring the clear heat embossed image.I have scribbled some crayon on my craft sheet and with water brush I have picked the colour and painted the image,(below pic for reference )
Possibilities are endless with crayons.


You can layer the inks on one top of the another, I have observed it blends smoothly while layering and base colour or colour underneath does not get picked up,,, well this was the case with smudging, 
Crayon once dried completely can still be picked up with water. It works very much similar to distress inks.... keeping the name of the family of water reactive inks. 

4- HEAT RESIST TECHNIQUE 

In this technique you need to stamp the image with distress crayon as shown above on a glossy sheet and allow it to dry or you can heat set it. On top of it with any archival ink distress the entire background. Now take a baby wipe and rub it on top of the stamped image,it will pick yup the distress crayon and leaving image bleached out.


I hope you all loved the Distress Crayon so far and was able to inspire you all.
Do try your hands on these and share with us your lovely creations.

Oh I totally forgot to share my take on distress crayon painting. 
I am a die hard disney fan .. and a very bad painter ... distress crayon gave me a way out to try my hands on paintings.
I am so much in love with the character of Sadness from the movie Inside out ... so I made her on a canvas. Okay I am not a pro at this and this is my very first attempt on painting  so please be nice while judging, I have incorporated the technique here like water blending and finger smudging to create this.


Don't forget to leave some love.
XOXO
Isha 
Have a nice day 


Supplies used- 

Distress crayons
Dress my craft card stock 
Archival ink black 
Ranger heat tool
Ranger craft sheet
Stencils  

Hero arts and just rite stamps.
Tonic scissors


Sunday, 19 March 2017

All about flower making-tools and techniques with Anita Kejriwal

Hello dear friends,

This is Anita here . I hope you all are having a super crafty time and shopping fun at Crafters Corner.

As you all know that flower making is my forte and I keep it above all . Its like a passion for me and I just forget the whole world when I am making flowers. I am so deeply involved in its creations , that I feel no other art gives me so much peace as flower making.

I have been making flowers since many years and over the time, my floral art has evolved and matured. All thanks to the beautiful products from all over the world now available at Crafters Corner. I actually owe my creative success a lot to Crafters Corner because it has given me the best brands to work with.

Many a times I have been asked several questions relating to floral art. This is going to be one long post with lot of discussions and pictures so please patient!!!

Let me see each one of them and answer for you.

Q. What paper or card stock is best for flower making?
A. I like card stock that are smooth and thick between 250 gsm to 285 gsm. Dress My Craft floral oriental papers and Exotica papers are ideal for flower making. They are in fact the best that I have used so far giving sturdy realistic flowers.

Q. Which inks should we use for colouring flowers?
A. It all depends on what technique you are using. If you are misting the flowers lightly with water , then distress inks and Memento inks but if you are soaking the petals in water then, waterproof inks like Archival or Color Box. You can use water colour, re inkers etc to colour your flowers.

  Color Box Inks


Archival Inks
Q. What do I use to apply inks ?
A. You can use sponge daubers or foam applicators to apply inks.


Q. Why do we spritz or soak the die cuts in water to make flowers?
A. Soaking the flowers in water or misting them with water, breaks the grains of the paper, making the surface soft and pliable . Hence embossing and shaping becomes very easy and also gives a realistic natural look to flowers. Mister bottles for Rangers are a good buy.


Q. What are the tools required for flower making?
A. The basic tools are embossing ball tools, fine stylus, good pair of sharp pointed scissors, embossing foam pad, tweezers. Apart from these, wires, pollens, thread, applicators and sponge daubers for applying inks. Dress My Craft Groove Golf tools are a complete and ideal for embossing flowers.

 Groove Golf tool set

Martha Stewart Embossing Stylus set

Q. What type of scissors should I use for flower making?
A. Always go for scissors that are light in weight and pointed to allow you go deep in the edges of petals.


Q. Which Glue is best for flower making?
A. Select a glue that is very thick, fast drying and holds the petals well. Aleene's fast grab tacky glue is the ultimate so far . For assembling on projects, silicon glue or hot glue is apt.


Q. How to buy inks shades for flowers?
A. Choose the base colour and then go for a medium or dark shade of that colour. For example in green shade, I would choose, Archival Fern Green and Library Green, In pinks-Magenta hue, Pink Peony and Plum.

Q. What type of centres should I use for flowers?
A. Study the real flower and see the nature of its centre. Based on that you can add pollens, prills for realistic look and pearls etc for dressy look. You can add flower soft to get natural look for flowers.


Q. How do I add shine to my flowers?
A. Apply glossy accents or crackle paint for the shine. You can add sparkling dust, sugar powder etc.
 Sparkling dust
Frosted Sugar Powder


Q. How can I get beautiful realistic flowers?
A. By patience and dedication. Treat each flower with love. Try to study the actual flower before making the paper one. Do not hurry. Make each petal with utmost attention and care.

Q. On what type of surface do I emboss my flowers?
A. You can use embossing foam pads to emboss flowers. The surface should not be very soft neither very hard. Various options are available at Crafters Corner.
Mini Molding pad


Q. What type of dies I should use to make flowers?
A. Crafters Corner has a huge range of flower making dies. You can choose according to your need and budget. Brands like Heartfelt Creations, Elizabeth Craft Designs, Spellbinders, Joy Craft etc are all wonderful for flower making.

Q. What are the other things required for flower making?
A. You will need, strong thread for tying the pollens, floral green wires, floral tape etc.

Q. How should I protect my flowers from dust etc?
A. You should keep your cards in plastic pouches or boxes. Wiping with thin cloth very delicately helps in cleaning flowers.

And now for the finale'. here is the live video that I did on flower making.You missed a few points. No worries!!! Everything is here.
Just Click on the link to take you to the video.

Some Eye Candy flowers for you.


Products from Crafters Corner


So I hope I have covered all the questions regarding flower making. But still there may be many queries. So ask me here and I will surely try to answer them. I hope you enjoyed this post.
Do visit the Crafters Corner store for all your crafting solutions.