Followers

Showing posts with label door hanger. Show all posts

Monday, 6 October 2014

Door hanger !

Hi crafty people...
I love altering MDF products not only because they are cute an adorable but also they r strong and have more life as compared to paper products..
Our store is full of such petty mdf pieces and you can give them the look you want. It can be shabby chic, vintage or whimsical....
For my project today I picked up the cute door hanger and altered it with the "love theme "😍😍😍.
It can be a perfect lil gift for someone u love and wanna make it visible day n night .
So let's begin...

I started with the plain mdf door hanger and painted the egdes with distress paint in vintage photo. Adding colour to the edges makes the project look more neat and finished.

 
I traced the door hanger over my pp and trimmed it carefully. Distressed it a bit and glued it on the hanger.


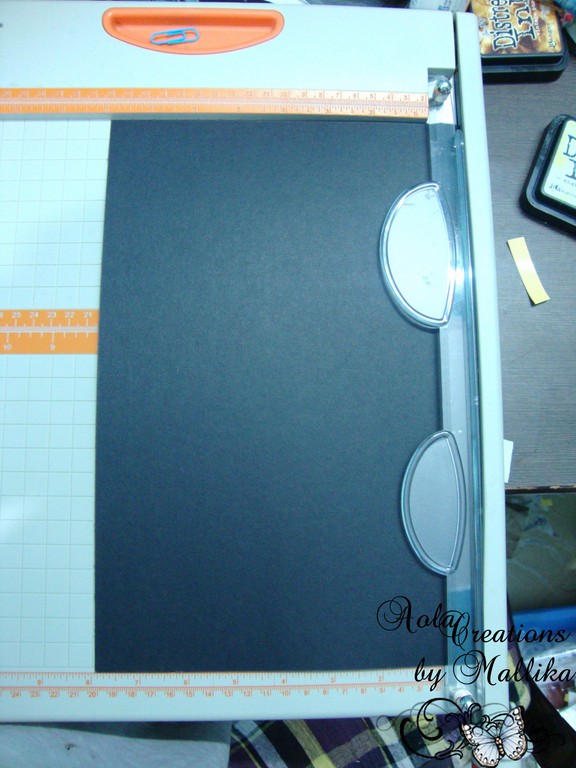
I adore the image of the whimsy stamp bird swing and wanted it for sure on this project. I stamped it with memento tuxedo black and coloured with prisma colours. Used a spellbinders die label 14 to cut it around. While keeping the paper in the die distressed the edges with the soft tumbled glass distress ink. This leaves a cute white border. Layered it with a kraft coloured paper. 


To add the special effects I added some 
Wink of Stella on the roses and glossy accents on the birds.


To embellish the project I used my favorite mulberry roses and also created two rolled roses on my own😉.


I also added the cute key charm and angel wing charm to jazz up the project.


Finally added few stamped fussy cut pieces , lace , sequence trim,pearls , pollens and cheese cloth to add some oomph !


It's a cute project and fun to make..
I am sure you all will give it a try and mark your presence in your loved one's room.
Your feedback is very precious for me and it encourages me to do better day by day. 


Waiting for ur valuable comments :)
Hugs 
Arjita 

Tuesday, 22 January 2013

Tilda Door Hanger


Hello There!

Priya this side to share another inspiration for this month's challenge (No. 4) Anything but a  card/Layout.. As this month we are showcasing Magnolia Tilda Stamps available at Crater's Corner, I colored another expression of Tilda.. Tilda wth Cozy Heart..

I made a door hanger with a pocket this time.. :)

I have colored the Tilda using Steadler color pencils & used Koi Water Brush available at Crafter's Corner.. I think I have improved a bit in coloring :D...
and oh did you noticed tht puffy heart? I used Glossy Accents to make it shine a bit and look cozier..


The hanger has a pocket too to keep candies, messages, etc...


Now the list of Supplies I have used .. Most of these are available a Crafter's Corner.. Order online and stuff will be available right at your door Step.. easy peasy... :)

1. Tilda with Cozy Heart
2. Koi Water Brush
3. Magnolia DooHickeys Heart Swirl Die
4. Frayed Burlap Distress Ink
5. Prima Petal Palette Handmade Flowers
6. Papers and words (beautiful day) from my stash

Hope you all will play along our current Challenge # 4- Anything but a Card or Lo ..!!...There are Magnolia magazines up for grabs...

www.crafterscorner.in (All craft supplies under one roof)
For further information please mail at : info@crafterscorner.in

Have a good one!

- Priya...

Wednesday, 17 October 2012

How to make a Door Box Hanger - Tutorial Special

Hello Friends ,


This is Mallika here with a tutorial .
Its a sincere request , please excuse my cluttered desk . It is way too cluttered and I can't help it .
When I craft I require everything beside me .
I will teach you how to make a sturdy door box hanger which can be used to hold the daily  newspaper  , some flowers or some chocolates etc .
Step 1 -
Take a 12 by 4.5 inches of cardstock
I have trimmed it using my Tonic Trimmer from the Store Crafters Corner . 


Step 2 - 
take another cardstock of 12 by 8 inches 


Step 3 - 
Take a Score Board , Score at 1.5 , 2.5 , 7 , 8 inches keeping the longer side on the edge .


Step 4 - 
Now turn around your sheet by 90 degrees and Score at One inch


Step 5 - 
Fold along your score line . Kindly excuse the picture used as I have used a 700 gsm Paper . 


Step 6 - 
Now at 1 inch line , cut along the score line till 1 inch down . 


Step 7 - 
Fold is along and make a box  , simply by sticking the tabs .


Step 8 - 
Now take your circle nesting dies , even square or scallop square / circle will do . 

Step 9  - 
Take that 12 by 4.5 inch cardstock , try to keep the die right in the middle up . 
Run it along your Big Shot .


Step 10 - 
You  will have something like this 


Step 11 - 
Stick the box , it will appear something like this 


Step 12 - 
Now simply Embellish the way I have done :) 
 I have used the beautiful Polka Dot spellbinder die , totally in love with it !! 
I have also used Marianne Leaves . This is one basic die to work with . 
The mulberry flower used is also from the store . Our Site has bful range of mulberry flowers !! The color range is nowhere to be found !! 
For scoring you can buy from our store exclusive Score boards  from Martha Stewart .
For nesting dies .. click here 
I have used Garden Party stack sheets from DCWV from the store , Incase you guys are wondering about the pattern paper . 
Hugs
Mallika