Followers

Showing posts with label Plaid texture paint. Show all posts

Saturday, 10 December 2016

MINI WINTER COTTAGE

Hello dear ones! and welcome! I can't believe it is already the last month of 2016! My New year cards are not all done yet. Everyone are having a winter theme creation of this month. This season is my favorite time of year! I hope everyone had a wonderful Thanksgiving with your families! I did something a little bit different, a mixed-media textured winter miniature cottage using a mix of various material like MDF, Card stock,  paper, acrylic paints, Laser cut chippies, mediums and Snow flack paste .
Have a look at this.... so small... so cute


I must warn you, I made a mess! When i making this cute :-)
But I like to say ~ you have to make a mess to make pretty! :) 

Many of you expressed interest in a tutorial for making doll-houses.
It's a little crazy around here today, so please forgive me if this tutorial seems a bit hurried. It really is just a matter of cutting, gluing and adding.
 

Here goes . . . .
I'll show you how to make a version of this house. This is just basic idea

1, Take thick card stock or thick chart paper. Cut like rectangle shape. If you are using card stock, you need 2 rectangle pieces 

2. Cut out the shape,  

3, Use Cobblestone stencil with texture paste for stone effect

4, The next step is to break out the hot glue gun.
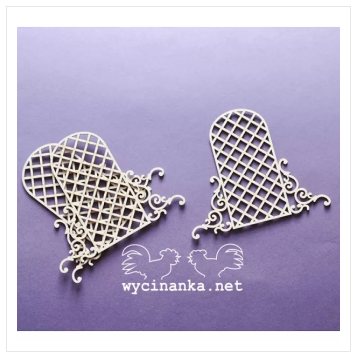
I like to glue on the windows and doors next. It's much easier to do 
for framing the window. I choose Wycinanka cut out for cross window. Details are shared in last of this post. 


In this pic can see the effect, Color i took acrylic brown 


5, Attaching 2 ends of cardstock with stapler 


 6, Roof: As we did same technique, attaching one side of cardstocks 2 ends with stapler.   

7, Make it as a cone by cutting excess part  

\

8, here is the way attaching the 2 part. Use glue gun for fast and easy attaching   

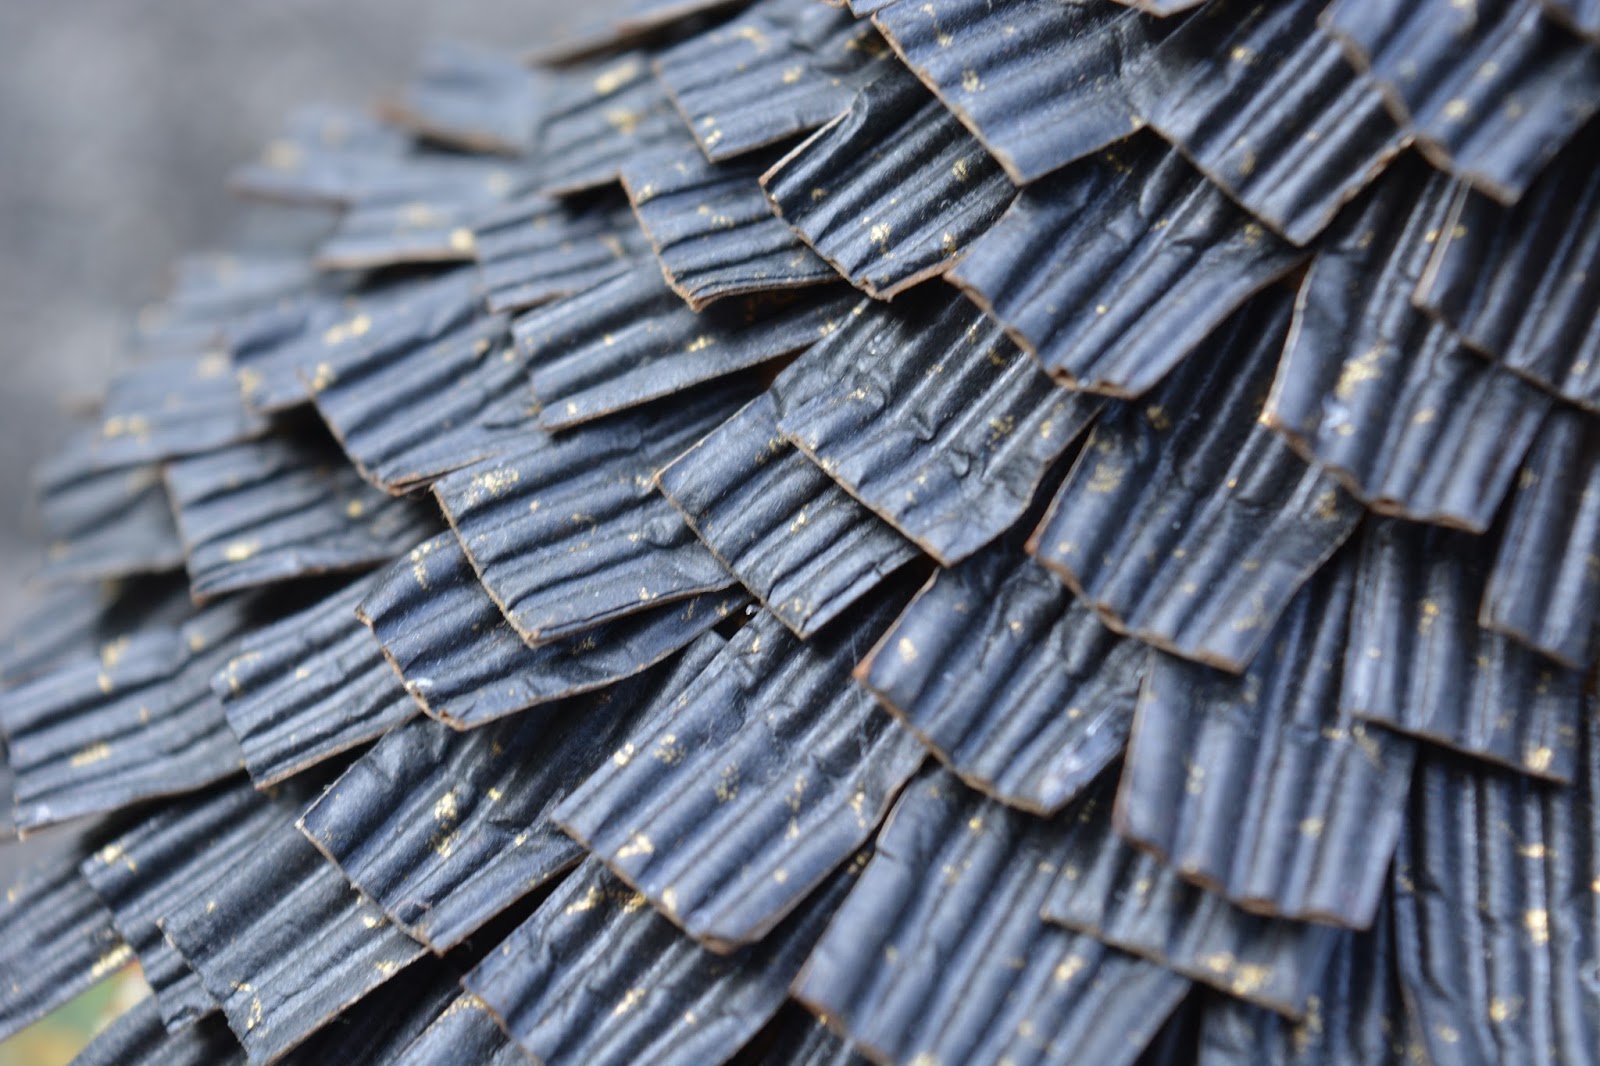
9, I dont know what should i called this paper, But you will get from local craft store. This is best one for arranging roof part. 


10, Cut the tiny pieces like this and attach on roof with glue gun 
How is this Cool idea...Is it? ;-) 


Now it's time to talk about the base.

For small houses I like to use MDF square plaque 7" X 7". Its perfect cute for this
 11, I marked the few portions in plaque for attaching cottage, stencil work on ground...etc and After stencil work i painted moss effect plaid-craft paint. Mixing of two shade to get dark green

 Select colors for ground part as you like
 12, Next step is arranging mini garden... take dry plants, tiny flowers, beads etc

13, Icing of Gardening ;-) 
I took Aleen's glue with flower soften for Garden boarder. 
Use brush for excess powder 
14, Last and final step for this little winter cottage, take the snow flack paste, randomly add on roof and some other portion too as you like


Here's the little finished house.
 This is the view Santie Claus sees when he's coming in for a landing. :)


I hope everyone is enjoying the winter season!  
If you decided to make a few, I would love to see them! 
Thanks for stopping by! 
Suzna


Supplies used


Wednesday, 16 November 2016

Playing with PLAID part3...It's Snowing!


Good morning!
Rupa here from Crafters Corner and I am here with my second post for November.
Many of you would have started working on Christmas gifts and decorations and I wanted to share with you the same.
Would you believe if I said “ It’s snowing here in my craft room!” You will see soon what I meant. As for starters I want show you the PLAID products that I playing with this time. I have also re cycled a bottle and a wine glass for this project. So sit back and enjoy the process the with me…it could get a lot colder in the end, lol!
Step1- I cleaned the bottle and wine glass to start my work. I then gessoed the bottle with a sponge and let it dry.

Meanwhile, I applied a coat of Folk art glass/tile medium on the wine glass with a brush and let it dry. I was not sure what was going to be the result of this medium and was pleasantly surprised to see this after the glass dried!


Have a look…an amazingly frosted look to the glass in a giffy! It was looking good as it but that’s not what I intended to do.
Step2- I had a christmasy decoupage tissue in my stash and started to adhere it to the bottle using modge podge.


It was big enough to cover the front of the bottle.

I used the multi surface paint in blue and mixed some glass medium to this and sponged on the empty spaces in the bottle. I then took out the magic PLAID ingredient for this project, the Texture paint(snow white)paint!
I told you it is snowing here…..just look at this little tub of snow. OOOOOO…I just loved the creamy paint inside. So easy to use. You could use a spatula, brush or your fingers to play with this. I applied the paint to all the portions on the tissue where I wanted a dimensional effect for the snow. I used a spatula for the same and let it dry overnite.
Step 3- I couldn’t resist having some snow on my embellishments too! I dipped in a pine cone and some plastic foliage directly into the tub of snow and swished it out! 
Yum yum…look at these! I also had some snow setting on the top of the bottle too.
As for the wine glass, I adhered another tissue and dabbed some complimenting acrylic colors keeping some open space. I liked the frosted look of the glass and didn’t want to cover it with paint.
I had these small laser cut cherries from Crafters corner, that I painted in red and had them stuck randomly on the glass.
Step4- I made a icing cone with a plastic cover and filled in the dimensional snow paint onto this. I started using this like an icing cone and started piping the paint out on the rim of the glass and then like drops falling from the top. 
I also had some settle on the base of the glass. Left them to dry overnite.
Step5- For the back of the bottle, I sprayed white paint using a tooth brush and stamped some music motes using archival inks. I also stamped a sentiment on white tissue and stuck it at the back.
Lastly, I added a red and white checkered fabric bow to the bottle neck and stuck the snow capped foliage too.
Here is how the bottle looks….
And here is the wine glass with the magic touch of a tea lite candle burning!
Now the duo is perfect as a Christmas gift, what say??? 
  The dimensional snow ids an effect that I cant explain in words, but for to see and touch! It is just awesome and a must buy for the coming festive seasons.
Looking forward to hearing your views on the same.
Until my next creative journey,
Happy crafting and recycling.
Cheers,
Rupa
Products from the store…