Followers

Showing posts with label Plaid Folk art. Show all posts

Wednesday, 30 November 2016

Wall Decor and FolkArt Painted Finishes

Hello friends !!!! Anita here!!
Can you believe that we are at the end of the year and in just 30 days, we will be saying goodbye to to 2016!!!!
And what a year this has been !!!! At least for me , it's been a lucky year !!!! Because this year I joined Crafters Corner !!!!!

Do let us know how good or bad the year has been for you. And now to some crafty chit chat !!!

FOLKART PAINTED FINISHES 


Does the name seem to be familiar!!! Well, that's the awesome new paint from Plaid Folk art range and it is one fabulous product.So beautiful is the finish that I could not believe that such natural looking texture could be achieved with this.


Picture from Google


Pictures are from Google

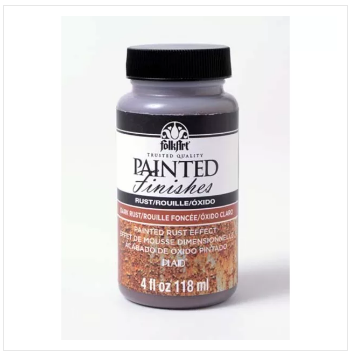
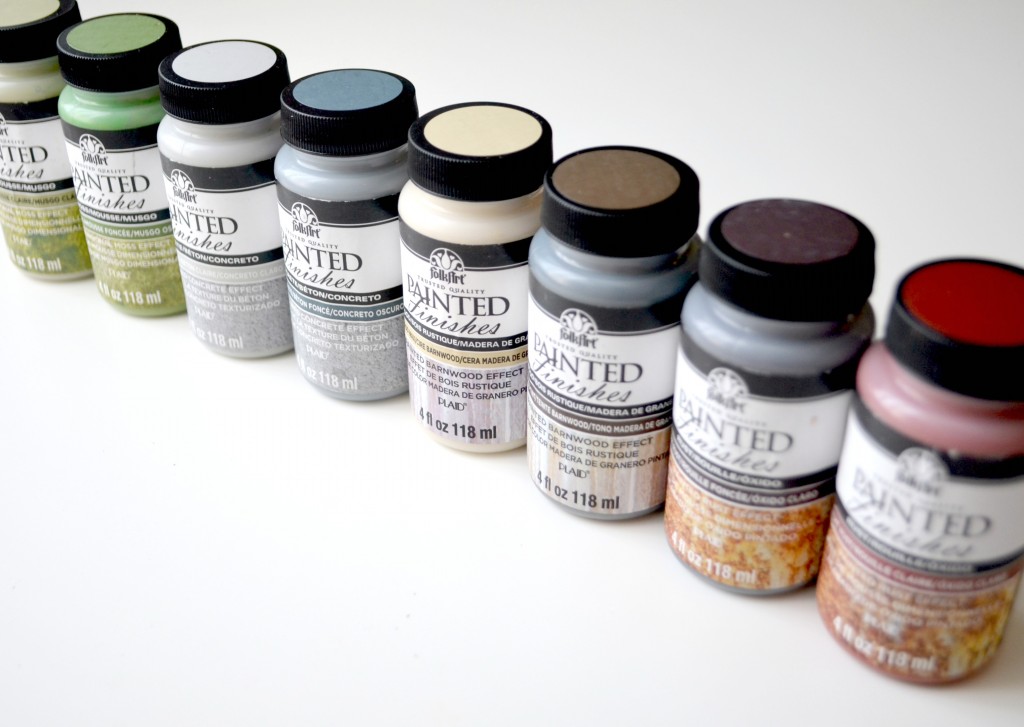
FolkArt Painted Finishes is a Texture finish paint that gives a natural organic look to a project. These come in four colours-Concrete, Moss, Rust and Barnwood . Crafters Corner has Rust and Moss in both light and dark shade.
It is applied with a DAB-ON technique that is dabbing method and is non-toxic in formula.
You need not apply Mod-Podge to seal the project when painted with Painted finishes as it is a sealer also. I can be used on wood, plastic, ceramic, metal, concrete and glass.
I usually takes 4 hours to dry.
Surface preparation depends on the type of surface you've chosen.

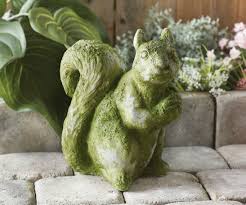
  • Wood –  Because FolkArt Painted Finishes Moss is a thick textural paint, there is no need for additional prep whether working on finished or unfinished wood, even if the surface is very rough.
  • Terra Cotta – No prep is necessary when decorating terra cotta.
  • Plastic – Wash plastic surfaces in warm, soapy water to remove any existing grease film. Allow to thoroughly dry.
  • Papier Mache – No prep is necessary when decorating papier mache surfaces.
  • Metal – Wash all new metal surfaces in warm, soapy water; allow to thoroughly dry. Moisten a paper towel or soft cloth with distilled white vinegar and wipe over surface; allow to dry.
  • Cement, Masonry and Garden Statuary – Apply a coat of white vinegar (to neutralize lime), allow to dry, rinse, and then allow to dry thoroughly.
All  Painted Finishes paints can be used outdoors.

What type of brushes should be used for painting with Painted Finishes?

You must use Stiff bristle brushes to paint as these are heavy paints. The brushes can be easily cleaned with warm water and soap.


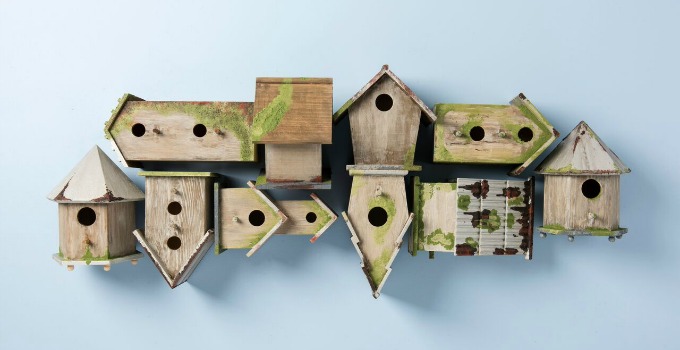
I have used these paints to create a wall decor piece with some textured effect using the Painted Finish Moss and Rust.


Do follow the video where I show you how to make this.


Products used


Do leave your comments and feedback. If you have any queries, please email us at info@crafterscorner.in
Thanks for stopping by.


Saturday, 26 November 2016

UNDER THE SEA MINIATURE

Hi Lovelies, It's Suzna here with you today i'm sharing my latest mixed media miniature using some new Plaid-craft products that I am totally in LOVE with! Have you tried this rustic, moss finished paints?

Please scroll down for the fast video tutorial!

This rustic selection of plaid-craft paints are so incredibly authentic moss look!! You get crazy 4 rich texture colors...I picked up only 2 colors and just love them!


Here is the video


I hope you all enjoyed my video tutorial and picked up some tips in creating your own Under the Sea miniature. Remember I'm always love to hear your feedback on my project!  

Hugs and happy crafting
Suzna


Supplies used
************
Olfa Hd Cutter W/Rubber Grip - L-2

Spring Green-Preserved Reindeer Moss

Aleene's Original Tacky Glue - 8oz

Neutral Mount Board

Dark Moss 4 oz - Folkart Painted Finishes

Dark Rust 4 oz - Folkart Painted Finishes

Glitter & Spark!

Clear Rock Candy


Saturday, 29 October 2016

Playing with PLAID part 1

Good morning!
Rupa here from Crafters Corner and wishing you all a very HAPPY DIWALI. As you are bursting crackers and eating those sweets, I would like to share with you a little deco piece that I made for Diwali this time and I have involved quite a lot of ingredients from PLAID FOLK ART. Here is a look at the entire PLAID family who helped me in this project.
Let me warn you that this is a very long post with lots of pictures and I hope you enjoy your journey till the end.
Here we go….
I started to build a wooden shelf/organizer with the wooden scraps that have been lying around at home. 
I managed to get the raw structure done in about 2hrs with the help of my driver who pitched in as a temporary carpenter and I must say, he loved his new role, lol!
This is what I started off with! I know it was this bad…I told you they were wood scraps! But trust me…the PLAID family wove a magic here and you will see what happened to this ugly duckling!
STEP 1- I gave a coat of black gesso to all the nooks and corners of the shelf. I then took Folk Art multi surface (orange) and gave a coat on one of the sides.
 Then came the magic tool, FOLK ART HOME DÉCOR COMB!Yes…I had an instant love for this member in the family! There is so much that you can do with one tool! Today I am going to show you 2 textures possible with this. In the months to come, I am going to explore this product with various mediums and for different styles. Hang on!
Here I applied orange with a little BLENDING GEL over the entire surface and dragged the toothless side of the comb over the wet paint.
And here you see that when it is dragged this way, you get a lovely linen effect . The paint settles on the wood grains and the excess is dragged off reveling the base coat, in this case black. The minute patterns resemble the linen fabric.
STEP 2- Next member from the family is the FOLK ART DIMENSIONAL MOSS EFFECT. I first gave a base of fol art green and then dabbed in the dimensional paint.
 I left it to dry overnight and what I saw in the morning was a lovely growth of moss on the shelf! 
This product is great for creating moss like feel to your projects with a combination of a lighter color to give shading and depth.
STEP3- On the sides of the shelf, I applied yellow color with some blending gel and then swiped the comb with the wide tooth. 
As you drag the comb, you can see the lovely striped pattern! This magic comb when dragged over the top cost of paint reveals a great texture and dimension and best thing is you can play with this in different directions. 
A closer look and you will see the raised dimension of the top coat paint.
I continued this pattern on both the outer sides of the shelf and on the top.


STEP4- Next i took WHITE WAX and applied in on the lower of the striped pattern that I just created. A closer look and you can see the difference. 
Where I have applied the white wax and wiped, it gives a white washed look to the project. This removes the stark brightness of the color and gives a lovely shabby washed look. The top half if you see, you can see the starkness of the black. In the lower half, the white wax settles in the wood grains and gives a lighter look.
I continued this process on the entire shelf and then gave a 2 coats of SATIN VARNISH and let the project dry overnight.
STEP5 _ I took these lovely papers from BOB AND BETTY FLORAL LOGS. I wanted a festive and colorful look to this shelf, and look these lovely blooms and stuck them.
 I also added some orange rhine stones as flower center to bling up the project! here is how it looked all done up after the cosmetic changes.
The play of paints and the colors that I have chosen gives me the freedom to use this shelf for different purposes and I can also give different looks to the same project

Hers is LOOK 1- The contemporary style..A very practical one and I have used it as a tissue holder and some flower to brighten up the work space.
LOOK 2 is a Desi, festive look...near my dressing table. It holds all my bangles and some garden fresh flowers add some more color. Just so to let you know, the the pole that goes to hold the tissue and the bangles is a dry piece of branch from the garden too.


That brings us to the end and I hope you could stay on till here, lol! I had a great time playing with these products and will be back soon with another one.
Until my next creative journey,
Happy Crafting and recycling.