Followers

Showing posts with label foam flowers. Show all posts

Wednesday, 3 October 2018

Banner Embellishments on Easel Drawer


Hi crafters...Dr Sonia here with a project featuring gorgeous papers from Dress My Craft,dozens of handmade foamiran flowers and embellishments created with the Dress My Craft punches.
Craft punches are such a fast and easy way to create quick elements on your handmade crafts. What I especially love about the newly launched Dress My Craft punches are the guidelines on the base which make it easy to create banners and tags of varying widths .

I used the banner punch in 3 ways in this project. I inverted the banner punch outs to create a fan on the top . Glittered the edges with rainbow glitter to highlight the border.

As a contrast created a proper banner using smaller punch outs threaded on a paper rope and added butterflies cut out from the Dress My Craft paper pack.


Used rainbow glitter to glitter up the edges and random bits of the banner to add interest.

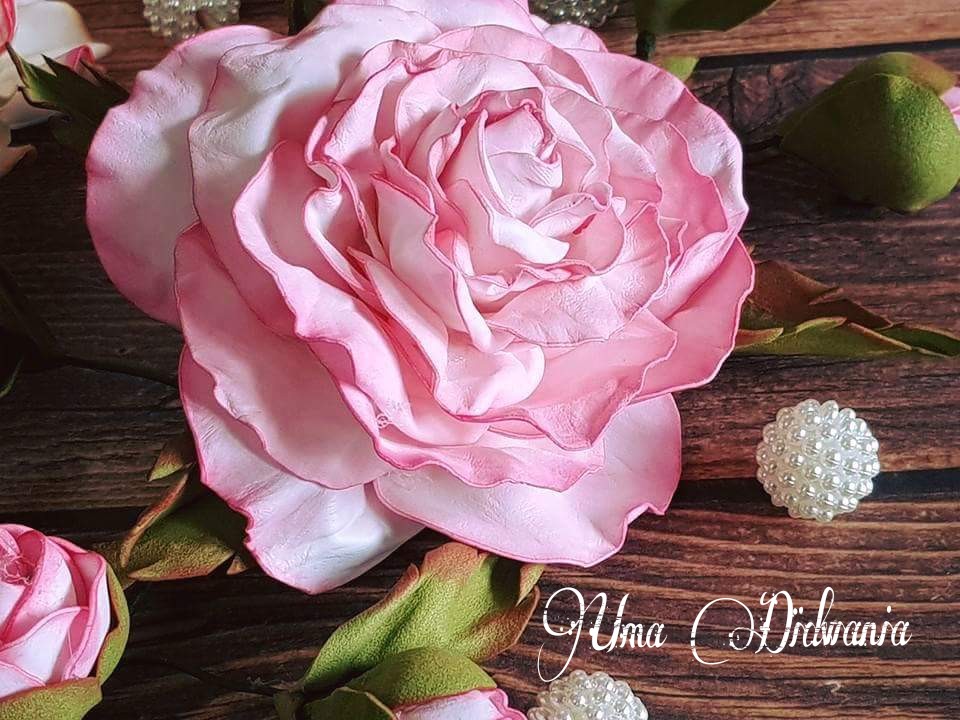
The beaded sprays are quite easy to make with whatever beads you have in your stash and a bit of wire and floral tape.

When using a punch you are not limited by the length of the paper you can use ;so creating fun embellishments such as a 3 D sentiment banner is quite easy.

Here is how you can make a 3 D sentiment banner : depending on the size of your sentiment score 2 lines ¼ th inch apart on either side of the middle of your paper strip where your sentiment will be.Leave 1 inch paper on each end [ beyond the score lines] and punch with your  Dress My Craft banner punch. Fold the score lines and you have a 3 D banner which will pop up!


The box has a drawer and an easel which can fold flat for mailing or storage.

You can create the box any size you want using chipboard and pretty paper!

I wont bore you with the step by step photos as it is just  measuring and gluing!

The drawer part was made by attaching chipboard pieces to card stock and folding over the card stock to get pieces whose edges are covered with cardstock and hence giving a neater finish....This is the kind of design you will find is the stylish sweet boxes!

The front of the drawer is made of an extra piece of chipboard covered in pattern paper for extra strength.

I used corner protectors on all 4 corners and mini brads from Dress My Craft to attach the handle through the double layers of chipboard.

Since the brads pass through double layers of chipboard all the way to the inside the handle is securely attached to the drawer.

Inside the drawer is a mini album which fits snugly inside.

You can see the mini in detail on my blog
And here is a quick 1 minute video showing the project in toto


Supplies: Crafters Corner
Papers : Dress My Craft Floral Symphony, Dress My Craft Dots n Stripes
Dies: Spellbinders Rose Creations- Big Rose, Cheery Lynn  Large Rose- pink roses, Cheery Lynn  Miniature rose- pink rose buds, Elizabeth Craft Designs 728 Bunch of Flowers- white filler flowers, Cheery Lynn  Sunflower- white daisies

Saturday, 8 July 2017

FOAMIRAN FLOWERS


                                              Hello everyone
                          Today I ,Uma Didwania , on crafters corners blog
                                  In this post I'd love to share with you  
                                                my latest love Foamiran flowers


WHAT IS FOAMIRAN?


Foamiran is a stretchy material
 with 0.8mm thick which somewhat look 
 like paper, easy to shape when
 it is warm. I mentioned the thickness
 as thickness is very important. This is
a special kind of foam dedicated to
 flower making only.

 It is not the ordinary craft foam which is generally 2mm thick
which you can buy in crafts store.
Its a special foam made in Iran and that is why its known as FOAM-IRAN.

Foamiran flowers are my love these days and i m going GAGA about its multiple uses....
They are the best if you cant invest in many things and need something to do to keep you busy.
The best part is that these can be die cut with your Big shot machine or any other die cutting machine.
They can also be handcut if you dont own a machine so they .
You can also buy hundreds of accessories from DRESS MY CRAFT too which will help you to jazz up your flowers.
 (at Crafters Corner)  .


Now ....

I have a tutorial of this beautiful flower


Required Materials:

1:  Foamiran sheets (white & olive green).
2:  Archival ink (pink peony).
3:  Floral wire ( soon will be at the store ).
4:  Floral green tape ( soon will be at the store ).
5:  Kitchen foil.
6:  Hot glue gun.
7:  Iron any or craft iron from Crafters corner .
8:  Pair of scissors preferably Tonic only.
9:  Sparkling dust from dress my craft 
10: Clear glue .
Here is step by step

Step 1:
cut the square pieces of white foamiran sheeta (as shown in the pic)


Step 2:
Cut the three edges of square pieces in curve shape & give them petal shape


Step 3:
Color the edges of the petals with archival ink


Step 4:
Set your iron on the low temp.

Step 5:
As you heat the petal quickly twist it.


Step 5:
Open your petals and slightly stretch it with your fingers & give them curve shape. ( do it very softly otherwise it would tear)


Step 6:
Crush the kitchen foil & shape it like a rose bud.


Step 7:
Attach the floral wire in the bud with hot glue.


Step 8:
Now arrange the petals on the bud ( start with smaller one)


Step 9:
After you paste the smaller petals your flower would look like this.


Step 10:
Finish with the medium sized petals like this.


Step 11:
Now start with the large size petals, paste them randomly.


I made more flower, rose buds and leaves. Now attach them with floral green tape.


Step 12:
Apply the glue & sprinkle the sparkling dust.....and you can see that i love this dust badly :P


Hope this tutorial will help you all.
So start making foamiran flowers nowwwwwwwwww......

Love n hugssss
Uma