Followers

Showing posts with label SamreenMerchant. Show all posts

Friday, 22 November 2013

Yet Another Graphic45 Project

Hello everyone!
It's  Samreen here
This time my turn to share with you guys something new :)
But have I ever shown you a project of mine straight away?
nai naa? :P

chalo first go to our Sindhus beautiful shabbychic  card
its soooo pretty I fell in love with it the moment i saw it !!!
heres the link  A Simple Card.....


Now here's starts my post

Its A 12"x12" Graphic45 tray ......... but you can use our configuration boxes for making something like this 
And Ive used here my Favourite stack yet again :P

then ive decorated the sections with different embellishments from our store
the bird is a PrimaResin
and the bird cage is a fussy cut from the stack


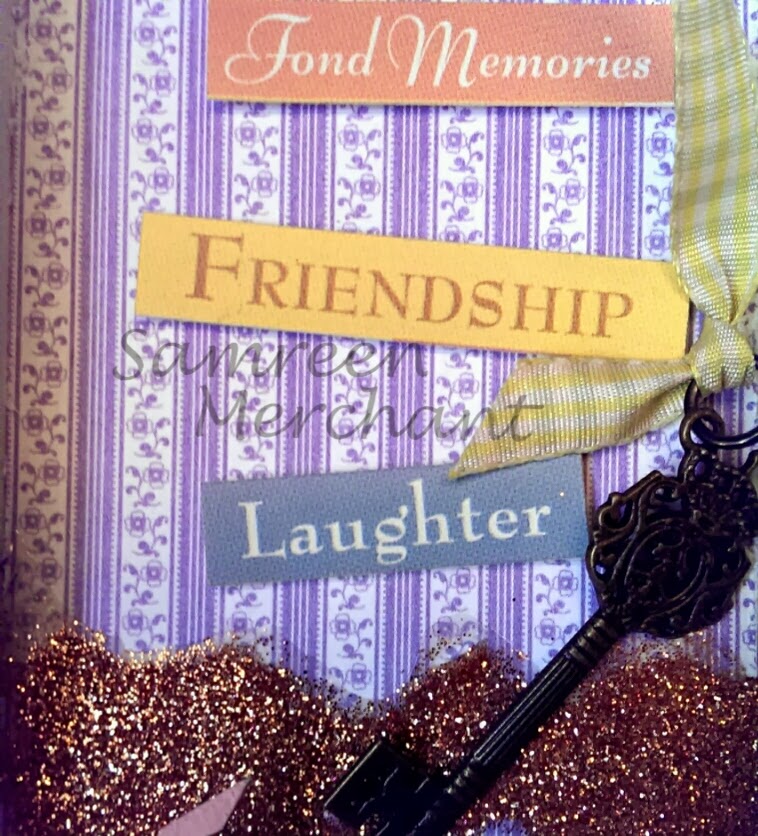
Put some glitter down there with GlossyAccents for some sand like effect 


this was my favourite part of aging the paper
i distressed the edges with 2-3 complimenting shades of  DistressInks
then distressed the edges of the paper with a distressingTool
crumpled up the paper
opened it up and misted it with PerfectPearlsMists
then dried it up with a HeatTool

here for this section the golden dots are LiquidPearls
and the edges of the paper are again colored with distress inks and distressed with a tool


here the mini vials are tied up with twine

You can see a BoBunnyJewelSticker there


the brickwall effect is actually a white paper heat embossed and then Distressed


The Window is a PrimaResin
and ive filled it up with CrackleAccents for an aged look

then i made a mini book in a section of the tray where we can journal

its a fan fold book

The other Side
 made a Little pocket there :)


Another pocket with a stamp 


You can use our PrimaMarketingTrinket here instead of this one


 Thats it for the post
I hope you enjoyed my posts and designs For Crafters Corner will miss ya'll 
especially my teammies and Shalini (YouGuysAreGems)

HUGS AND KISSES
SamreenMerchant


Monday, 14 October 2013

PlaceInTime Canvas

Hello friends ,
I've got a picture tutorial for you guys today.
It's a canvas with some gorgeous g45 images


Shall we begin? 

For this part you will need
A canvas (preferably an 8"x6" if you're working with an 8"x8" stack)
A pallet knife 
And Gesso
Lay your canvas on a craft mat and begin working with one part of the canvas 

Pick your modelling paste and Spread evenly with your pallet knife


N then Dab over the paste with the same tool to give some texture and volume to the background....

Work on a particular area at a time ....
spreading the paste all over the canvas isn't a good idea because your paste layer will dry up pretty quick ....
Do the same on the remaining canvas ....
Spread.....


and then dab....


When the canvas is covered and you're happy with the texture clean the edges with your index finger...


Then you need to dry it completely..


Now the next step!
Take some Gesso and put a layer over the textured canvas  


Dry it up ... 


Now take your LindysStampGang sprays and mist over the canvas ....just a touch of color ..... (Seen in the image are sprays from the little lindys collection LittleLindysPink and LittleLindysGreen. WildHoneysuckleCoral , SeaMintGreen and PonderosaPinesOlive .... the ponderosa was too dark for my theme so I ended up using only thé 2shades mentioned above )


You need to add JUST A BIT of color I know we all  love them and they shine ... But we aren't marinating the canvas ....are we? Minimal amount of color and let there be some white peeking out  


I used a HeatGun to dry up this beauty 


Distress the edges with a DistressingFoam and some ScatteredStrawDistressInk


Then you need to take a BIT of your PerfectPearls in a mister mixed with some water and spray over the entire canvas


Use a HeatGun to dry  


Got some gauze ? Yes? Good ... Distress it with ShabbyShuttersDistressInk


I initially wanted to use the SecretGarden paper stack from Graphic45 but then I ended up using the JuneSheet from myPlaceInTimePaperStack (this is such à fab company ! Intricate vintage designs and DoubleSided Sheets =D Typography is topping my papers-to-buy list)


Cut -> Ink the edges -> then distress the edges ...

Added a MiniDoily here manufactured by MFT-DieNamics
There's also this TimelessClockStamp I used here on an Acetate sheet 


 And then after adding some MulberryFlowers and Embellishments here's the completed canvas