Good morning!
Rupa here with my first post for the year! Firstly, wishing
you all a very Happy 2017 and I hope you all dream big and your dreams come
true.
As for me, I had a dream too and am glad I could fulfill it
too and am going to be sharing it with you. They say necessity is the mother of
invention and my need was to get a set of side tables for my guest bedroom. But
instead of buying ready ones, I decided to make them by upcycling some discarded treasures! Stay till the end to know what it is!
I have used Folk art chalky finish paints and this lovely scrapping
tool too from Plaid.
Here is how I started…once again LONG POST ALERT! Sit back
and enjoy with a cuppa…
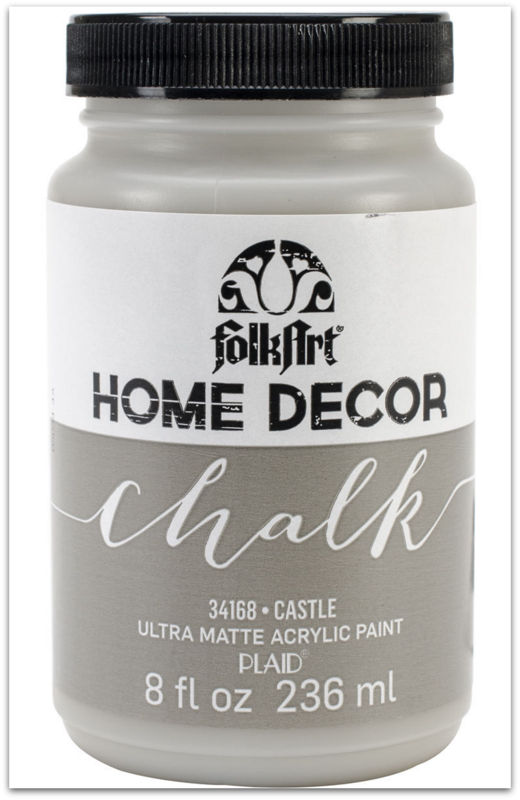
Step 1- I got a pair of round base for the table and first
gave it a coat of Folk art “castle” chalky finish paints.

These paints are
thick and the main advantage of using them is that THERE IS NO NEED TO PRIME
THE SURFACE! You can give a coat or two max as the coverage is really good in
these paints.

After drying I sanded it lightly and applied candle wax
around the edges where I wanted to distress it. Then came the top coat of “lilac”.

Step 2- Once the top coat was dry, I took out this handy
tool and my buddy for the project, the scrapper from Plaid. It is so easy now
to distress wood or any surface now. Where wax has been applied, you just need
to lightly scrap with this tool and voila!


The base color emerges revealing a
beautifully distressed wood. Here you can see the grey peeking out from the
lilac on the edges.
Step3- Have you seen or done 2 layer distressing? Well I
wanted to try it here..just as if one layer of distressing was not enough, lol!
Out came the next coat of color on top of the lilac. I painted just plain milky
white as the top most coat and before that again applied wax in a few places.

The white was also a mild sweep with the bristles and not a loaded paint. I
wanted a dry brushed effect with distressing too. Once this was dry, the
scrapper did the rest of the job!

Look at the 2 colors, lilac and grey distressed on the table
top now. The scrapper if lightly handled, just scraps the color so easily.

If
you give too much pressure, you could end up peeling the entire layer of paint
and the wood will be seen instead!
Step4- My base was ready. I did not want the plain wood
look, instead wanted the palette wood kind of look…so I went about creating a
faux effect for the same.
TIP- For this, it is very important to have a totally dry
brush and also a wide, flat bristle brush.
I wanted a darker tone of grey, so added a bit of black
gesso to “castle” and gave dry streaks all over the table.

Next I followed the
same with some brown paint, but this time, not all over bit just randomly and
finally dry streaks with white paint. Phew, it’s still not over!

I then went back to dark grey paint and this time with a
thin round brush, drew lines on the table to create the faux “palettes”!


Once
again with the flat brush, I also loaded the tip with paint and gave a round
twist to create faux “wood knots” too ! Have a look at this (faux) palette
table now!

Step 5- Next was some cosmetic touches to the table. I went
about decoupaging some lavender colored flowers with modge podge.

I had them in
random places and when dry, I took out a few 12x12 stencils from my stash and
with the left over paints of dark grey and lilac, created some 2 tone
stenciling effect.

I used a huge damask stencil, but in parts and it looks like
flourishes! After this I did some French scrip stenciling with black paint and
yes, my table was taking shape.
Step6- I gave a mild sanding and final round of scraping too
and it was all set to get waxed and varnished!

I gave a coat of white wax and
waited overnight for it to dry and then buffed it with some soft cloth. Next I
gave 3 coats of Folk art satin varnish. I sanded in between coats and now it
feels so smooth and absolutely feminine, lol! Soory, forgot to take pic here, I know you must be thanking me now, lol!
Now this table top was ready to be fixed to its base…any
guesses on what the base is going to be????
I cleaned the base with water and soap, let it dry and then spray
painted it with silver paint. ANY GUESSES YET????
No…here it is…

Yes I had a great friend who magnanimously departed with 4
tyres as she was relocating out of Bangalore! I was more than excited to have
these and took them without even hesitating. These were in my studio for more
than 4 months and just saw the daylight!
Well if you are wondering what happened to other 2,,, here
they are…

I made a masculine version for the side table too! Pretty
much similar distressing techniques and colors except for lilac, lol!
On the table top, I stenciled this French café label and
then creted a border with checkered pattern stencil

Here is the full revel of the “man table”…
Here are the 2 together…just outside my studio, before reaching the guest room!

I wanted 2 different yet similar
ones in the guest room as I dint want anyone staying here disappointed!
Here are some captures of the duo in the purple highlighted
guest room.


I know I am testing your patience, but I had to give you the
final look of the project in its final destination.

It was always my dream to
create home décor and utility items and with FOLK ART CHALKY PAINTS and THE
SCRAPPER , it is just so easy to create lovely distressed pieces of furniture,
which is the “in thing” in interiors right now!
With this, we come to end and I really would like to Thank
you for staying with me till the end. I am sure my guests will be super happy
and I do have them coming over this weekend. I can’t wait to hear what they
have to say and needless to say, I hope they do realize that I had them in mind
while creating these.
I am equally eager to hear what you have to say and never
ever hesitate to give your furniture’s a makeover now!
Do get back to me if you have any queries on wood
distressing and I hope to see some colors on your furniture now!
Until my next creative journey,
Happy crafting and recycling.
Cheers,
Rupa
PRODUCTS FROM THE STOREFolk art chalky finish paints- Castle and Lilac

Scraper tool

Folk art white wax

Folk art satin varnish