Followers

Friday, 17 February 2017

Dress My Craft Papers and Tools Rock!!


Hi friends, Thank you so much for all the love showered on my Altered KeyHolder posted earlier showcasing handmade flowers and Tutorials. Here is another altered project..this time a Tea-light holder dressed up in a fairy house style using lots of  handmade flowers , vines and crystals!

I am so in love with the new Dress my Craft Papers...they are superb for die cutting as due to the thickness of the papers, the shapes hold so well.
The roses were made using Dress my Craft Floral Oriental paper and Spellbinders Rose Creations  dies.

The tear drop crystals are gorgeous fillers I picked up from Crafters Corner. Love how they lend a magical touch to a project.

Propped up the dragon fly charm on floral wire to fly  above the flowers!


The yellow and pink blooms were also made using the same Spellbinders Rose Creations  die and Dress my Craft papers! Dont you just love it when you can stretch your supplies and make so many different flowers using a single die / punch.
        I had never been able to quite enjoy making the crushed flowers which are so popular...I think the problem was the paper I had been using. This time I used the Dress my Craft papers and tools.I loved how easy it was to crunch up the papers without tearing them and the best thing was the shape held wonderfully!

Here are some of the flowers I made using Dress my Craft papers and tools.

The rose is one of my favorite flowers to make and yes I agree its the toughest one to get right too!! 
I love to find  easier ways to do something and in the last Tutorial I showed you how to use an earbud to help shape the central bud of the rose...in this post I will show you how to use Dress my Craft tools to make your flower making quicker and  easier.
Materials

  • Dress my Craft Oriental Paper
  • Groove Golf Tool Set: used the 2 large ones here
  • Any 5 petal Flower die: Here I used the Spellbinders Rose Creations  die and used the 2nd largest die 
  • Distress Inks /other inks
  • Mister
  • Towel
  • Embossing Pad
  • Adhesive of choice : I prefer the hot glue gun for its fast results.
  • Dress my Craft Sparkling dust
Use any 5 petal flower shape and color whichever way you want.Use one color, ink only the edges or use 2 different shades. Just remember to color both surfaces of your flower as the rose is a 3 dimensional flower and you will see both sides on your final flower.
Mist lightly with water and blot gently with a towel.

To quickly and easily form the central bud , use the largest of the golf tools and roll your flower petal around it

This is so much quicker than embossing with  tools and much easier than simply trying to roll the petal into a cone using your fingers alone!

Do the same with all the petals of your flower.


To form a nice pointed cone, now take the 2nd largest golf tool and wrap one petal around it...sliding it up to the tapering end and rolling into a tight cone.


What I loved about the Dress my Craft paper is that not only is it super easy to shape by this method but also the shape stays nicely...see how the petal doesn't uncoil immediately but gives time to glue!

You need to do this with only one petal which will form the innermost core of your bud. Glue the other petals around this .
You can use hot glue if you are adept with it [meaning not prone to burning yourself and not using too much] or use a clear drying adhesive of your choice.

You can either glue the adjacent petals overlapping the edges or glue petals from opposite sides...it just slightly changes the look of your bud and gives a bit of variety!

Your bud is now ready ! Add a calyx and its ready to go on a project as it is!


For the layer immediately around the bud, again use the large golf tool and rather than emboss, simply wrap the petals around it like you did before.


Optionally,  use the pointed tapered end of your 2nd largest or smaller golf tools and gently curve the edges of the petal outwards.

 Glue around your bud

You can achieve a tight or loose look for your rose by choosing where you apply the glue:
apply glue only on the  base of the bud and you will have a looser rose
apply glue on the base and on the lower half of the sides of the bud...you will get a tighter rose!

For the outer layers [you can add 2-3 depending on how full a flower you want] use the large golf tool to nicely cup and add subtle texture to the petals.

If any area looks stiff ,switch to a smaller golf tool and go over that area. Keep in mind that if you want more embossing anytime switch to the smaller size of the golf tool.

Invert the cup shaped flower and press the center with the round end of the largest golf tool.

Glue this under your rosebud


And so with just 3  die cuts  you have made a cute little rose!

Add more layers if you want a fuller rose .
To jazz up your rose...apply adhesive medium [use spray adhesive, crackle paint, multi-medium matte, glossy accents etc] and sprinkle Dress my Craft sparkling dust or frosted sugar.


Doesn't the rose look beautiful !!!

And the best thing is it was not too hard to make too isnt it!!

The pink one below is the one I used in the tea light holder


And here is the tea light holder hanging from our miniature Orange tree!

I hope you found some of the tricks I have shared useful.Do tell me how it is.

Supplies : all from Crafters Corner
Dies : Spellbinders  :Spellbinders Rose Creations,Heartfelt Creations :Heartfelt creations Classic Leaf, Heartfelt creations Delightful Daisy Die, Cheery Lynn  Dragon fly
Stamps : Heartfelt Creations Open Leaf Stamp,Heartfelt creations Delightful Daisies Stamp
Inks : Ranger Archival Inks , Distress Inks  Embellishments & CharmsHeat Embossing Supplies
Flower making : Pollen, Crystal Fillers
Dress my Craft products: Flower Making Paper : Dress my craft collection exotica and Floral Oriental collection paper

Golf Tools : LARGEMEDIUM,  SMALLMINI and NEW : Golf tool set
Misc Tools:Funnel tray
Sparkling Dust from Dress my Craft

Thursday, 16 February 2017

Photo Sleeve Layout


Hello everyone! 

Welcome to a brand new tutorial by on an amazing product recently launched in our store! 
Its none other than the lovely sequin sets by Dress my Craft! 
I'm sure you have heard about this lovely new Indian Crafting brand! 
Well if you haven't let me introduce you to it! Dress my Craft is an Indian Crafting Brand its a brainchild of Shalini Mittal she is the owner of our favourite website Crafters Corner! 
Dress my Craft has come up with amazing products and there is more coming up soon! 
We have a wonderful news for all our followers outside India the products under this brand will be available Internationally! Isn't that amazing?  
 So without much ado lets get started! 
Dress my Craft has come up with 12 sets of sequins and a set of lovely clay hearts! I've shared a picture of 10 sets and the hearts down below. 
Each box is unique in its own way there is a special mix of sequins in each box different shapes, textures, sizes and ofcourse colours! You name it and we have it? 


Well in the recent weeks Im sure you all have been going through the amazing posts by my fellow Dt's on how to use these beauties.
 For the followers who know me, you all know Im obsessed with glitters, sequins, embellishments and thing that add BLING - I LOVE IT! 
So when I was sent a DT pack full of these amazing sequins I had my brain running full of ideas!
  I wanted to make something different something new? So I came up with this super cute layout! Now you can make this get it framed or use it as a page in the album! 
So lets get started shall we? 


Look how pretty these look? 


Love the shape and texture of these! 


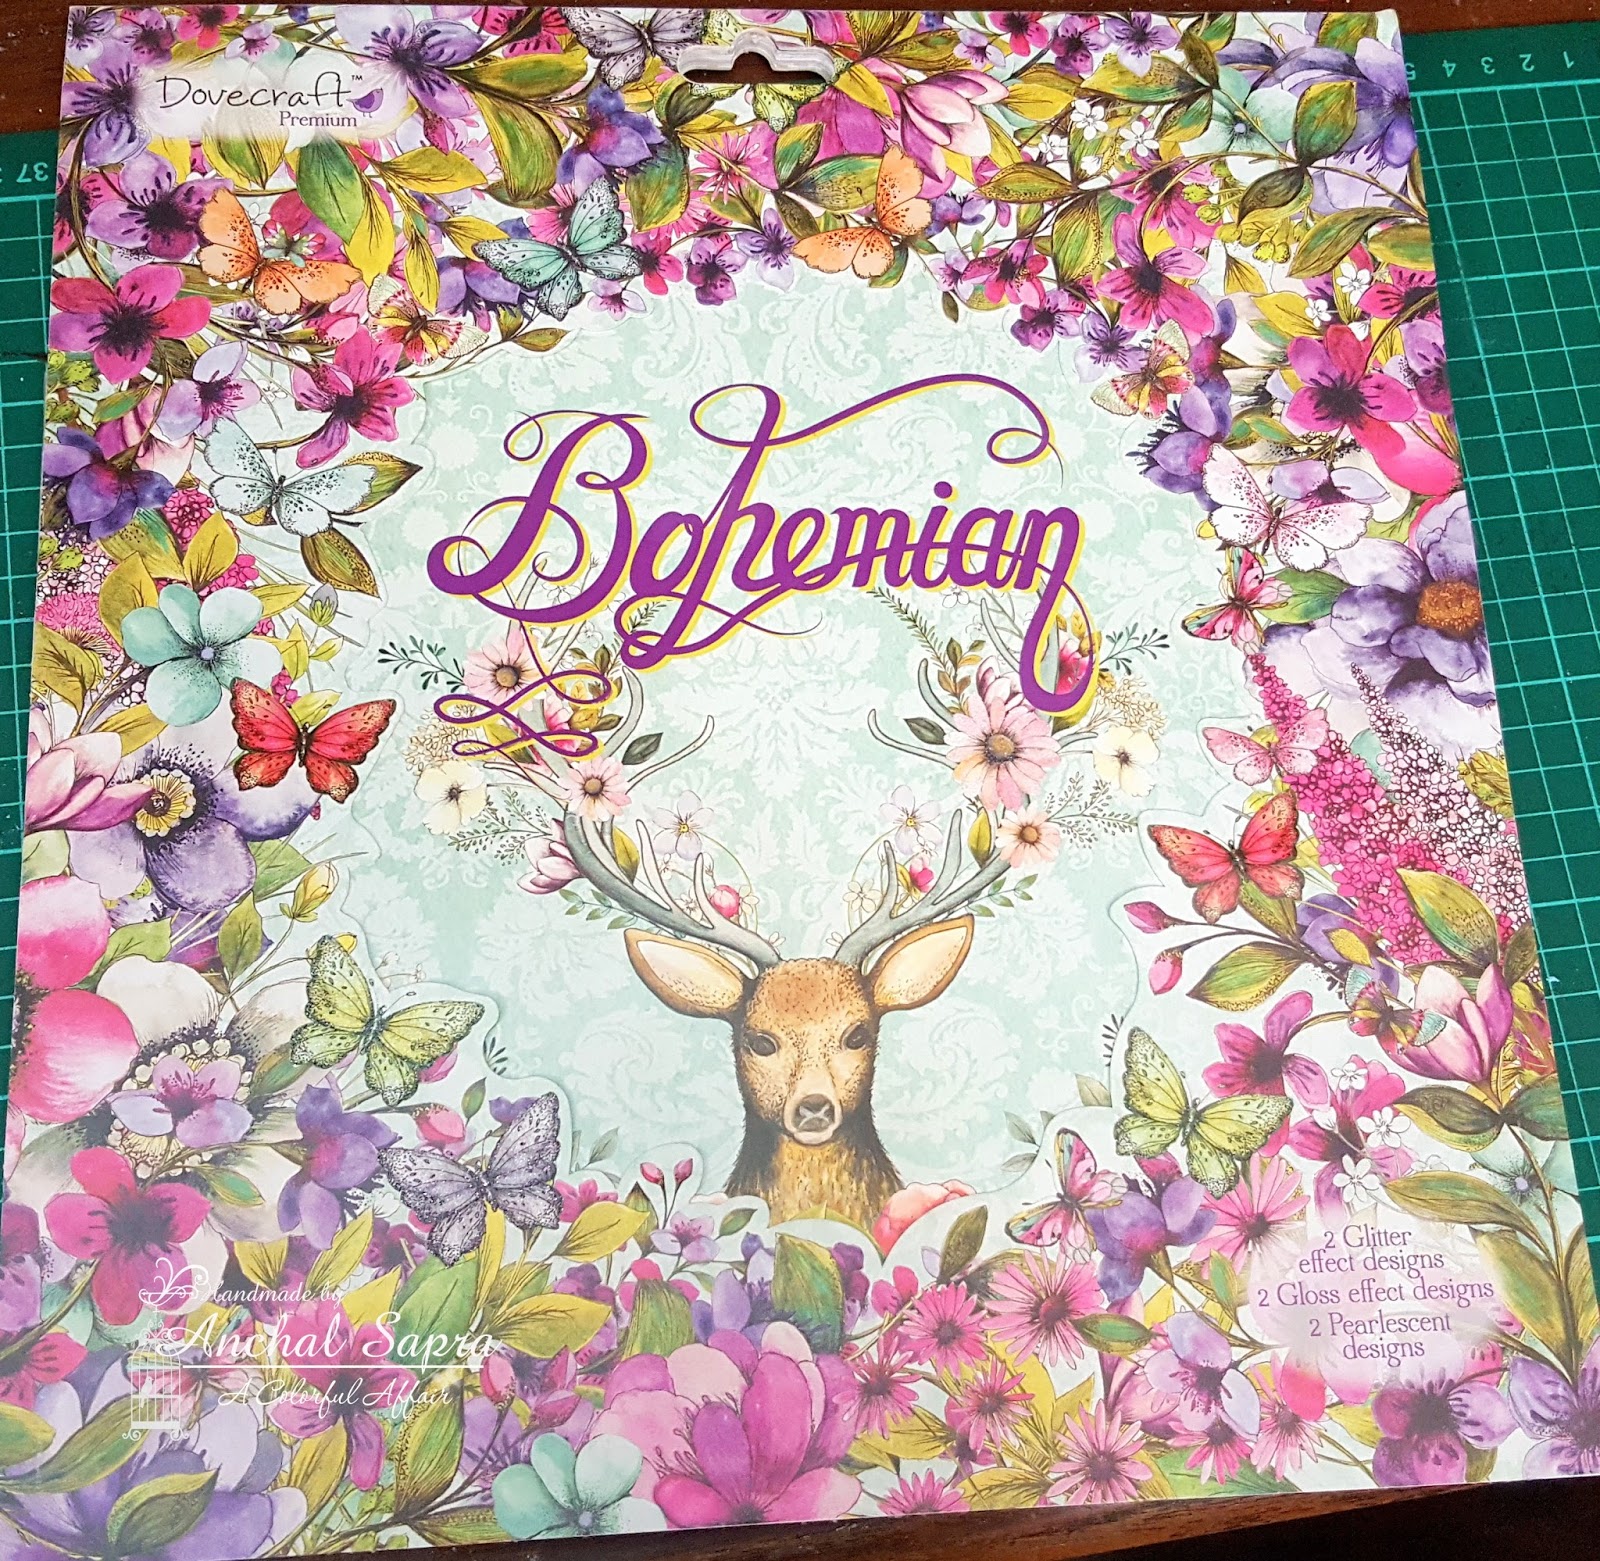
So I started with one of my recent purchase - The amazing Dovecraft Bohemian paper pad. The prints are gorgeous it has textured, Shimmer and printed sheets.

I started by selecting few prints for todays layout! 

Now for this layout I needed a photo sleeve and since Im making a 12*12 layout I've used a 12*12 photo sleeve by We are Memory Keepers are store has a variety of photo sleeves you can check them here - LINK

I started off by trimming my papers and making a rough layout deciding what goes were 

Next I fussy cut some butterflies from this  gorgeous pattern paper and added to my rough layout. 

Now lets get started. I stamped this sentiment by Kaisercraft with Stampin up ink and layered it up with some pattern paper 

Next i printed my name on some cream cardstock and bored punched it using my fav Martha- Doily lace punch I just cant get enough of it! I've also punched some butterflies with this martha stweart punch and added it to this piece. 

Lets start fusing now.
All of you who dont know about the fuse tool let me brief you up.Its a tool by We are Memory keepers It has 2 attachments once plugged in, it heats up and you can use it to seal materials in the photo sleeve. You can fuse pictures, papers, sequins, glitters, embellishments and more.
Before closing this area I added 2 different sets of sequins adding the perfect touch of bling! They just look amazing! 

For my next tile I've used these pretty butterflies by Heidi swap! 

And ofcourse some more sequins! I just cant do without bling! 

For the remaining tiles i've used a varierty of embellishments. Like this wycinanka cut out that i painted with Dusty attic paint and the next tile filled with small resin embellishments from the store. The possibilities are endless!  


Hope you all enjoyed today's post!
Feel free to ask any questions. Hoping to see you all make inspired layouts! 
Lots of love
Anchal Sapra

 PRODUCTS USED 
25 Ruler