Followers

Showing posts with label Romantic. Show all posts

Sunday, 11 February 2018

MINI CAFE ART

Hello Everyone,

Today its my turn to share some inspiration here :). About this project, its super easy and fun project. I always love to create something differently. 


Anyway my project is made with lots of Dress my craft minis and few things from my stash. You can see how easy this to create.... 


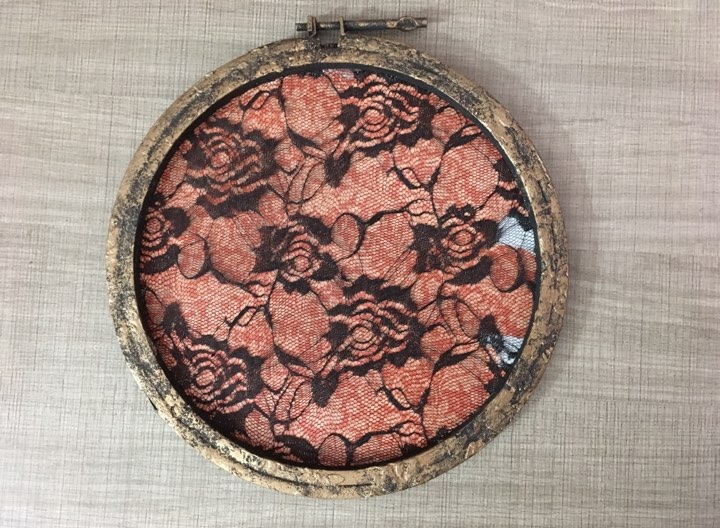
Base of this mini cafe, i made by altered hoop (8 inch Diameter ). I took the hoop, and prime with black gesso. Few of the corner side i did stencil work for texture look. But its optional. And final coloring is Prima marketing metallic copper. After drying add one layer of fabric design then pattern paper design (G45 Off to the Roses )


And the Shelf part - 5X7 reverse side of canvas. 


These small wooden pieces you will get, when you buy 8x10 or larger size box canvas


And finally


How is it? This super easy cool project :)
I hope you have wonderful creative weekend
Thanks for stopping by
Hugs 
Suzna

Supply Used

Miniature Wooden Brown Chair & Table
Decorated Mini Glass Bottle
Miniature Bread - Egg Burger
Miniature Dessert - Rainbow Donut
Miniature Dinner Plates Pink
Miniature Printed Vase # 3
Miniature Coffee Mugs
Miniature Blue Bowl Set
Miniature Spoons
Miniature Tea Set - Small
Miniature Flower Bowls
Graphic45 Off To The Races Paper Pad, 8"X8"
Micro Mini Rose Buds
Fillers - flowers
Basics Fabric Pack
Green Leaf String

Friday, 17 November 2017

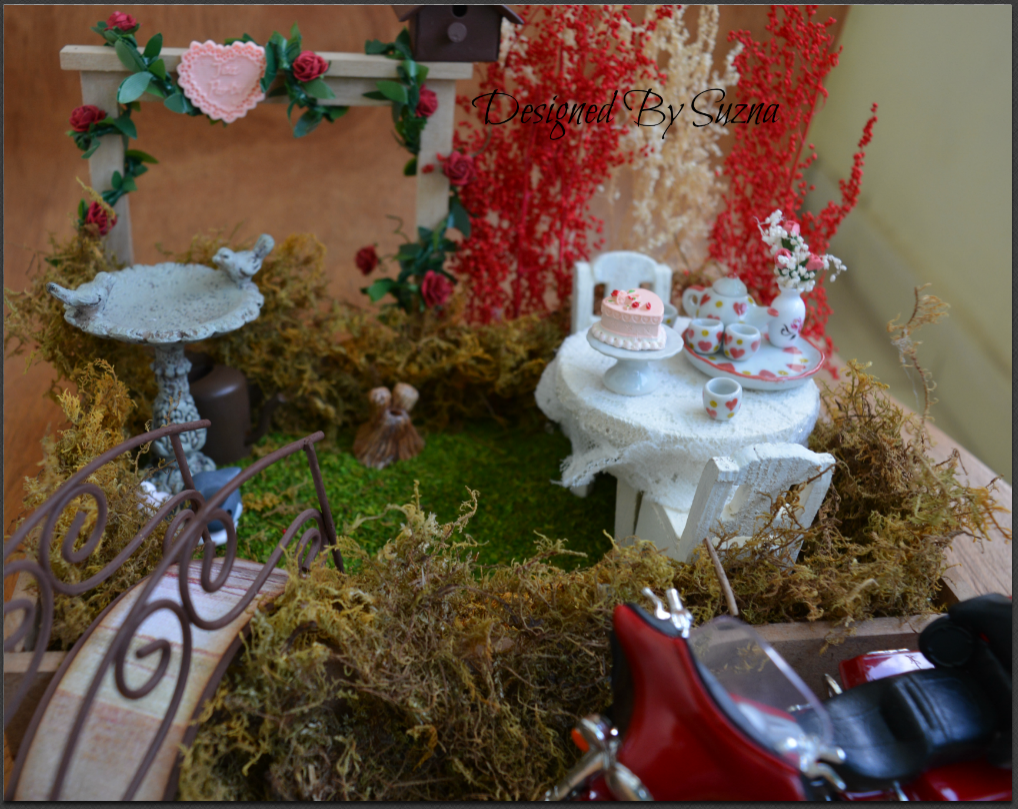
Tiny Romantic Tea Party

A truly romantic evening should pull out all the stops—from sumptuous cuisine and exquisite flowers to beautiful surroundings and, of course, amazing company :-)

Hi My Crafty friends
**********
Today i would like to share a cute, beautiful and really romantic tea party place. So excited.......
have a look at here


Can't see clearly ? okey fine 
First will see how i made this
Just few basic tutorial pics

1. My base is 6X9 MDF tray with decorative moss powder and moss sheets


2. How to glue this
Moss power i attached on my tray by using Tacky Glue
Moss Sheet - Glue gun


3. Adding more decorative miniature stuffs
furniture, teapot, flowers, dry leaves etc


Then Finally 


I made this romantic place from my inside feeling.
Every one have their own
Sometime we just have to express our feeling this way :-)
I hope you guys enjoy this
Thank you for stopping by
Hugs
Suz

Supplies Used


Tuesday, 20 January 2015

How To Make a CAS card With dies

Hello everyone

This is my first Post for the 2015 !! Can you believe it the first month of this brand new year is almost over ... My My how time flies and soon it will be  February and The month for romance and love.Also, this time of the year is full of Weddings and hence also full of Anniversaries. I wanted to Design a Soft romantic Card just for this occasion so you all can jump start you Valentine Day Craft or projects.I have created a CAS layout, using several layers of cardstock.

Here is how I did it 

Layer 1- White cardstock:- 8.5" x 8.5" Layer 2 - Silver cardstock:- 8 3/8th" by 8 3/8th "Layer 3 - White cardstock:- 8 2/8th" by 8 2/8th"Layer 4 - Silver cardstock:- 7.5" by 7.5Layer 5 - White cardstock:- 7 3/8th" by 7 3/8th"

Additional pieces 

2 pc Distressed doily
 1 pc white Romantic Couple
1 pc white Romantic Couple
1 pc silver Romantic couple
1 pc white Labels from the largest die
pc white Labels from the second largest die
1 pc silver cardstock cut at 73/8th" by 73/8th"
1 pc butterfly out in white
3 pc snow flowers
Some pearls

Procedure

  1. Glue Together layer #2 and #3 and adhere on Layer #1 centering all of them as neatly as possible. 
  2. Add the silver square piece and set aside.
  3. Glue together layer#4 and #5 and using a cutting mat and exacto knife cut a window that measure 7"by 7" in the middle.
  4. Glue the two Doily pieces on the opposite side of the window on the inside.
  5. Add foam tape to the window piece.
  6. Glue together the label pieces. Center in the frame and glue down.
  7. Adhere the white and the silver couple pieces together this is to add some weight to the piece.
  8. Add foam dots to the couple piece and glue on the labels piece.
  9. cut out just the swirls from the Butterfly out piece and glue them on the left bottom corner of the card.
  10. Add some pearls to the flowers and glue them.


Hope you all enjoyed this tutorialYou can do so many layouts and sizes and compositions with this basic construction. Experiment and Do share 


Thanks for visiting.Don't Forget to Subscribe!!

CiaoAshmita Roy