Followers

Sunday, 24 November 2013

Candy Tree Box Tutorial

Hi Friends,

Its time of the year where the cool breeze and the feel of warm sun announces the start of winters. Winters across the world is associated with festivities and celebrations. And Christmas is the main festival of this season which is celebrated across the world. It is believed that maximum gifts are exchanged across the world on this day.


So today, I, Shalini Pahwa, is presenting a tutorial of a small, cute and lovely gifting idea for this Christmas. I am calling it “Candy Tree”

To Make this lovely tree, you would need
Template(given below)
Printer
Cardstock
Stamps(of ur choice)
Paper Creaser(for scoring)

Step One
Print the given template. Cut it and score along the edges.
Apply the Tacky tape as shown on the pix. Stick the large flap to the underside of the cardstock on the opposite side. The Christmas tree basic pyramid like frame is now ready.


Step Two
The ends of the pyramid are also stuck as shown in the pic below. This will complete the tree. It would be hollow to give space for candies to be put inside as gift.
This is how the tree top should look like:

Step Three
For the base, cut the cardstock and follow the picture to stick the base together. The base slips over the tree. Fill the top with your favourite candies (Gems could be a good idea to fill it up with). When presented to kids or your loved ones, it would be a unique way of gifting this Christmas.


I hope you all liked the tutorial and
don't forget to participate the current challenge

Have A Nice Day!!!

Template(click on the image and right click and save the image and print )


Friday, 22 November 2013

Yet Another Graphic45 Project

Hello everyone!
It's  Samreen here
This time my turn to share with you guys something new :)
But have I ever shown you a project of mine straight away?
nai naa? :P

chalo first go to our Sindhus beautiful shabbychic  card
its soooo pretty I fell in love with it the moment i saw it !!!
heres the link  A Simple Card.....


Now here's starts my post

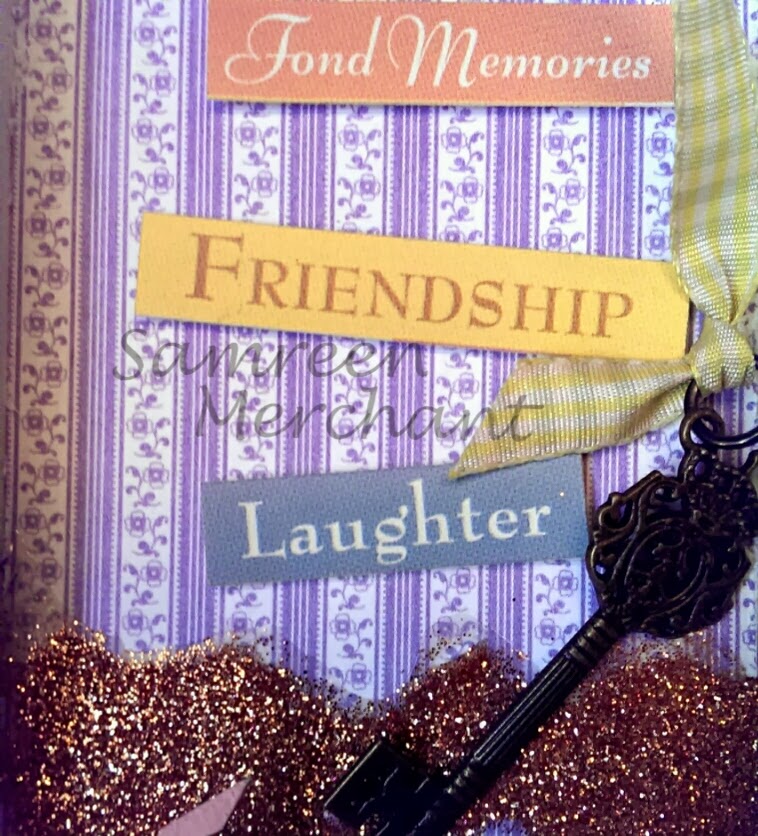
Its A 12"x12" Graphic45 tray ......... but you can use our configuration boxes for making something like this 
And Ive used here my Favourite stack yet again :P

then ive decorated the sections with different embellishments from our store
the bird is a PrimaResin
and the bird cage is a fussy cut from the stack


Put some glitter down there with GlossyAccents for some sand like effect 


this was my favourite part of aging the paper
i distressed the edges with 2-3 complimenting shades of  DistressInks
then distressed the edges of the paper with a distressingTool
crumpled up the paper
opened it up and misted it with PerfectPearlsMists
then dried it up with a HeatTool

here for this section the golden dots are LiquidPearls
and the edges of the paper are again colored with distress inks and distressed with a tool


here the mini vials are tied up with twine

You can see a BoBunnyJewelSticker there


the brickwall effect is actually a white paper heat embossed and then Distressed


The Window is a PrimaResin
and ive filled it up with CrackleAccents for an aged look

then i made a mini book in a section of the tray where we can journal

its a fan fold book

The other Side
 made a Little pocket there :)


Another pocket with a stamp 


You can use our PrimaMarketingTrinket here instead of this one


 Thats it for the post
I hope you enjoyed my posts and designs For Crafters Corner will miss ya'll 
especially my teammies and Shalini (YouGuysAreGems)

HUGS AND KISSES
SamreenMerchant