Followers

Showing posts with label Handmade. Show all posts

Tuesday, 14 March 2017

Dress my craft -product- sequin sets

Hello! Crafters

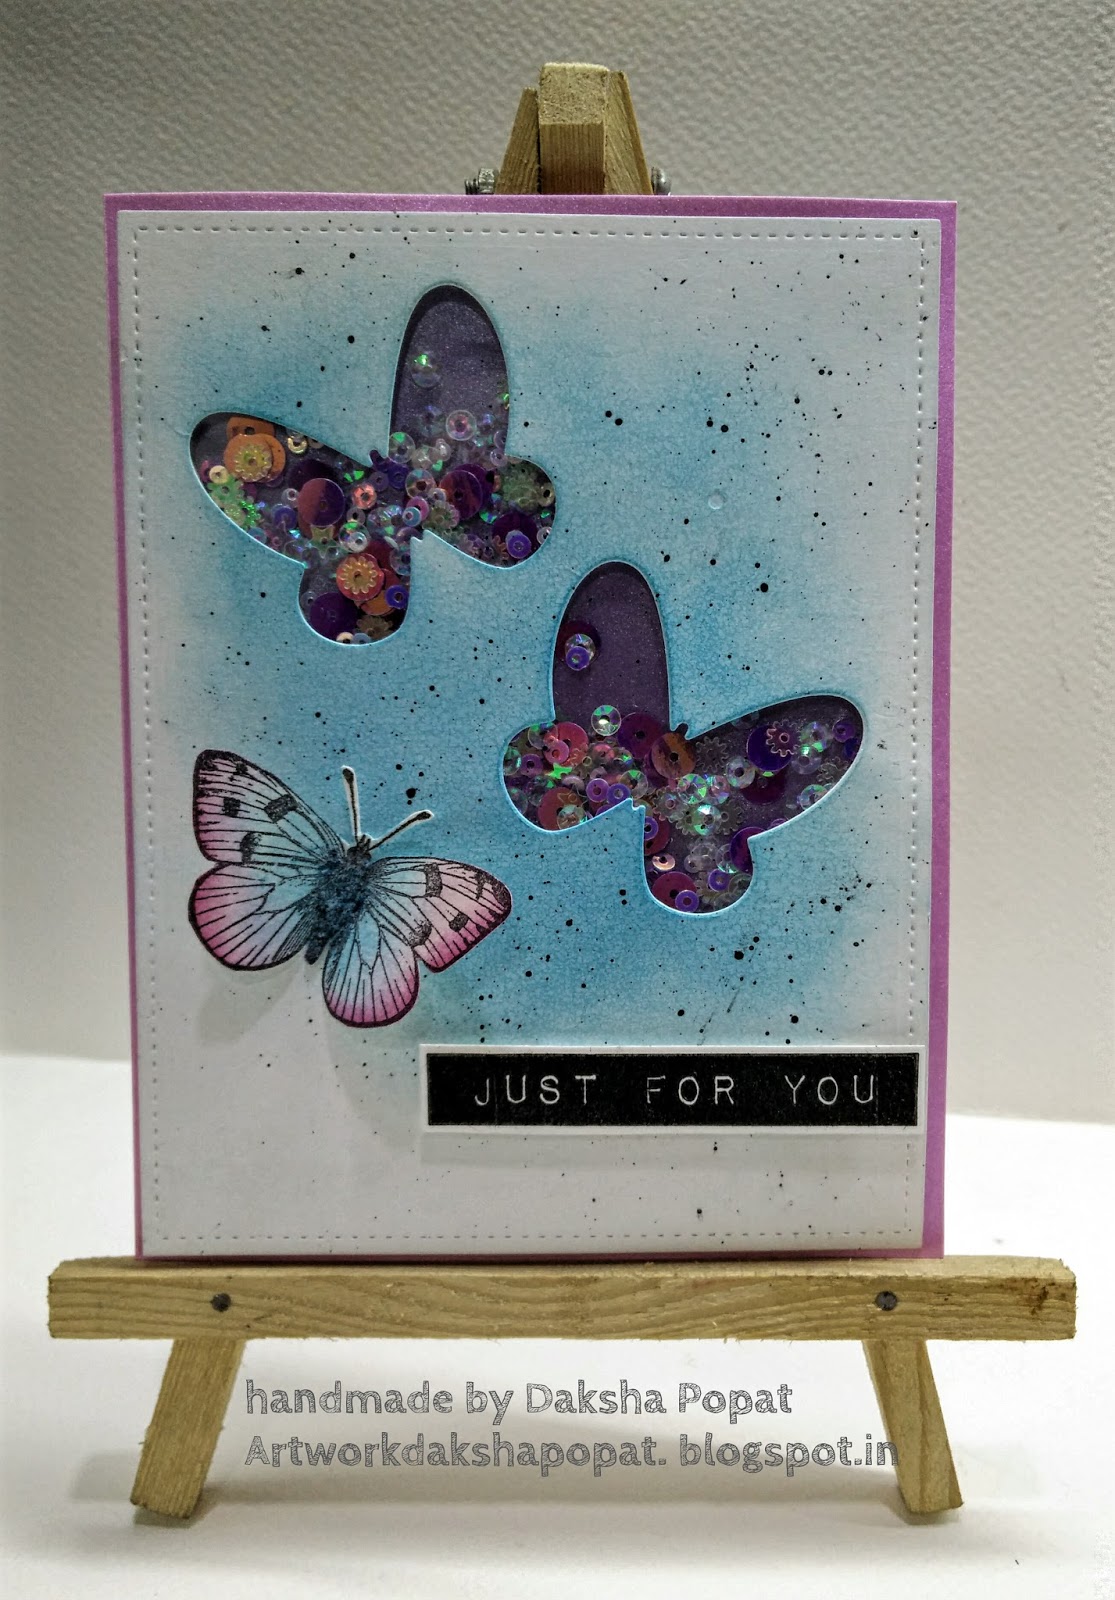
I am Daksha popat at crafters corner blog...with few simple cards using dress my craft sequins...
I believe that everyone is aware of the brand 'dress my craft'. It is an Indian crafting brand started by Shalini Mittal of crafters corner. Recently it is also made available internationally. When Shalini sent me 6 boxes of these sequin sets and asked me to give review on them along with some simple cards...I was more than happy to do so...


The very first thing one might notice about these DMC sequins is their packaging, which is both pretty and useful. The boxes are designed so beautifully that taking out and pouring in sequins is much easier. They are also easy to stack. The quantity is also pretty good. Each set has unique colors and is a mixture of various shapes and sizes. The shades are beautiful and pastel ..unlike striking vibrant colours available in the markets. These can be used in various projects like shaker cards,pocket layouts and also to embellish simple cards. These go well with any project I make ,blending in perfectly and providing beautiful results. Without any further delay here are some cards I made using these sequins.


Hope you all liked my effort to make different cards with these sequin sets. Last but not the least I would like to thank Shalini Mittal and dress my craft for giving me the opportunity to review this wonderful product.

Love n hugs 
Daksha Popat


Wednesday, 10 August 2016

Felt Crafts!


Hello everyone! How are you all doing? 
I am back with a brand new post for all of you. I absolutely love felt fabric but to find a good quality in the shades I like has always been hard but not anymore! Crafters Corners is here to rescue :D Yayyy!! 
Our store has got a lovely range of  felt sheets by Dovecraft! And the quality is amazing and the colours are Gorgeous! You can check them HERE


So for the first flower I've used the Arina Bloom die set by Heartfelt Creations. I've cut 3 lots of the die in 4 colours- Hot pink, Black, grey and Lite pink


Now start by taking an embroidery thread in a needle and do a running stitch across the flower as shown in the picture.


Once do you can stack them up like this and do a mix and match. 

Here's what i've done with few flowers :)  You can use them on headbands, make brooches, hair pins, use them on boxes, baby albums! The list is endless! 


For the next flower I have taken a strip on 2inches by 11inches. 
Begin by folding it onto half and use some hat pins to hold it all together.


Now make cuts at equa intervals going about 0.75 inches deep 

Next glue the bottom ends together 

Now add a tiny dot of hot glue to the start and begin rolling the flower.


Once you reach the end glue and seal the flower. 

Here's what I have made out of this flower! The pin i've used here is from our store! And look at that super cute eiffel tower! Isn't it adorable? 


Now for this cute little book we require 3 pcs. 
1.25*2.25 inches for the cover 
1*2 inches 
1*1.9 inches


Place them as shown in the picture fold and sew. 


Decorate as you like! 
You can use it for keychains, dust plugs, purse hangings and even pendants! 


Next i've made these super cute flowers using the Cherry Lynn  Gardenia strip die I've cut the die twice n two colours 

Take this piece and glue the 2 ends together. Making it a 4 petal flower 
Add any rhinestone to it and mix and match as you like


This is a super cute flower and looks great on clips as well as scrapbooks!


Hope you all enjoyed today's post. 
Feel free to ask any questions. 
All the products used are listed down below. 

Hava a great day!

Hugs
Anchal Sapra

PRODUCTS USED 


Monday, 27 July 2015

Burlap Mini Album

Hi friends, 

This is Arjita and today I will be working on the newly launched scrapbooking jute sleeves/pockets which I received few days back. Initially I was sceptical about the project but then finally decided to go ahead with a Burlap mini album and use the sleeves as ready made pages and pockets where I can insert few tags/photomats.
These burlap sleeves measure 8 1/4 inches L by 4 1/2 W inches . I think its a pretty decent size for a mini album and we can stick some good sized photos. Each sleeve comes with a stitched pocket and a beautiful lace is already added which make s it look all the more pretty. Since these pockets are attached with laces I wanted to carry this shabby chic look in my entire mini. 
I used a very simple binding system and poked the two binder rings through all the six sleeves. This immediately gave it the look of a mini album and I was ready to start embellishing it:)


I decided to use some shabby chic papers I had in my stash and luckily I found the flowers and other elements of the same collection in our store .
The collection is called "Prima coffee break" which is so pretty and perfect for this album.
I have tonns of picture for u so that u can have a good look at the album from all sides and do check out the video tutorial for all the detailed instructions.


I used  lots of pretty laces , trims and some seam binding to give it extra glamour .
This is the front page of the mini and it's so romantic and chic 😍
I love the tag which says " oh darling , it's coffee time !" So cute ....
I like to colour coordinate my album pages and I put in a lot of effort to select the papers and embelishments . This gives it a good visual treat and makes the album well planned :)


The album turned out to be very chunky  and pretty and I think it will be a great gift for someone romantic and who loves coffee....lol
This is the video link for the tutorial.


I hope u had a great time watching this video and do try out this amazing mini .
Thanks for stopping by ...
Hugs
Arjita 

list of supplies:
jute pocket sleeves
craft paper
prima coffee break flowers
prima net flowers-calm
binder rings
distress ink-vintage photo
distress ink-victorian velvet
fiskers scissors
craft mat
prima lace trim-white

Monday, 13 April 2015

'Bird Cage' - Heartfelt Creations

Hi friends,
Welcome to crafterscorner....one of the most inspiring and creative blog and I am so happy to be a part of it and super excited to continue my DT term once again. I will try my best to make things easy and inspiring for u all....
Today's post needed a lot of patience and hard work as I decided to make all the flowers and leaves by my own using the gorgeous Heartfelt creations collection. The flowers which we create by these stamps and coordinating dies are simply breathtaking. The basics of flower making are used and the best part is that the most amazing flower shaping kit by Heartfelt creations is now available at our store.

I stamped few flowers with Archival coffee ink. The coordinating die cuts all the flowers together and then I used sponge daubers to colour the flowers with memento luxe ( Dandelion, love letter, Rose Bud) colours . Its always good to colour projects on a craft sheet as it makes everything easy to clean.


Next I moulded the flowers with 8mm ball stylus and gave them shape and dimension. Then I stuck them slightly off centred , this makes the flowers look much natural and pretty . I also added some orange micro beads in the flower centers. 


The leaves and branches were also done in the exact same way. For colouring the branches I used vintage photo and walnut stain distress ink and for the leaves it was peeled paint,forest moss and shabby shutters. 
I made a lot of leaves and flowers and then began the layout of my bird cage. I planned the way I wanted my bouquet of flowers to look and started sticked them with a glue gun. 


I had a miniature bird house which was perfectly suitable for this project...I attached two chains with the cage and then added the bird house at the center. There are a lot of miniatures in our store and believe me the effect they give to any 3D project is magical.


I created a cute nest of my own by using Rafia which I dyed with distress stain. I sticked three cream coloured pollens for eggs. it was so much fun...

Now I will share the pictures from all sides so that you can see the flower arrangements.


Here is a Video explaining few of the techniques I used in my project today.

Hope you enjoyed my post. 
Lots of love 
Arjita